Vintage
Workshop
Vintage
WorkshopServices for Brough Superior motorcycles and their contemporaries
|
Vintage
Workshop Services for Brough Superior motorcycles and their contemporaries |
Rebuild of a 1929 Brough Superior 680 ohv
last update 6/2003
| Now that I have successfully completed a number of not-so-easy tasks in
rebuilding this 1929 Brough Superior 680 ohv I am thinking of offering my
services to fellow enthusiasts. You are invited to have a look at some of
the jobs done, and if you feel you need any assistance in a similar project,
just drop me an e-mail at
The above mentioned BS has been my most recent project. I had acquired the bike has as a relatively complete basket case. But as it had been dismantled some 35 years earlier, a number of components had gone astray in the meantime, others may have been swapped. Many bits were just quite well worn.
|
|
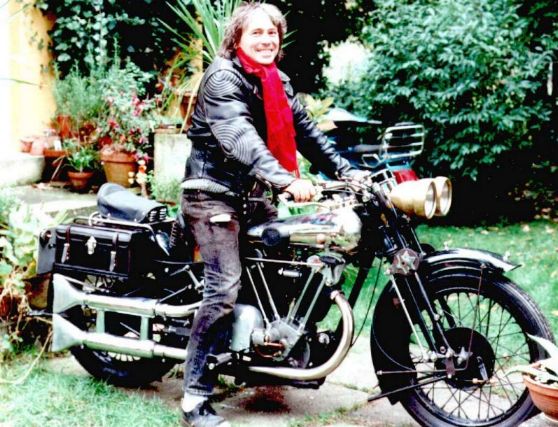
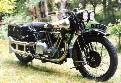
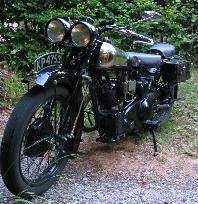
| October 2000: I have completed the bike for the first time and tried it
on the road. Of course it still needs the complete cosmetic treatment.
Anyway, I have been quite happy with its first outing (see picture).
Along the way, I had to solve a quite a few problems and make a number of parts. I am prepared to share the knowledge gained with other enthusiasts and help out with replica parts. In the following, I will describe a few of the bits that had to be made. |
|
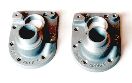
| In the transmission department, I found I was short of a correct cover for the Sturmey Archer heavyweight gearbox. Due to the layout of the exhaust system, a long kickstart shaft has to be used. To support this properly, a special gearbox cover which supports the shaft in a long and sturdy stub was used on the BS gearboxes, as the standard item is very likely to crack under the leverage of the outrigged kickstart lever. This item being quite unobtainable, a pattern was made and a few covers were cast and machined. |
|
| The frame needed to be straightened a bit, which was done without much problems on a purpose-built rig. But only after sand blasting those magnificent castle forks it became apparent that these had been quite badly repaired after some accident damage. The only way to put things right was to unbraze the lower yoke plates, repair the main legs, make new yoke plates and braze up the forks again. The plates have been CNC milled, incidentally. |
|
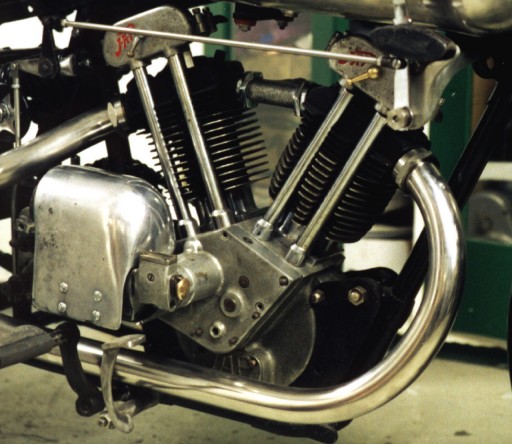
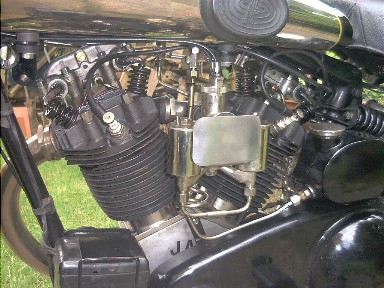
| The engine was quite complete, but needed a new big end, timing side
main shaft, main bearings, a re-bore and new pistons, new camshafts, roller
followers plus a number of smaller bits. A new big end was made, case
hardened and ground. A new liner for the forked conrod made from a needle
roller bearing outer sleeve and INA needle cages completed the big end
bearing.
As the cams were in pretty poor condition, I decided to make new cam shafts instead of trying to reclaim the old ones. Suitable gear blanks were obtained from HPC Gears Ltd. The cam contours were carefully measured on an unworn track at the edge of the old cams and then smoothed out using a special PC program. Thus it was possible to machine the new cam lobes on a CNC milling machine. The shafts have been made separately and have been shrunk into the cams. |
|
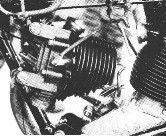
| post up 6/2003: For peace of mind, I did a through bolt conversion for holding the barrels. I had heard of too many disasters with broken off cylinder base flanges on these engines! |
|
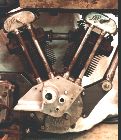
| For one of my other sins I am trying to reconstruct a '31 Montgomery Greyhound. This bike has got the same 680 ohv JAP engine, but this one was in very poor condition. As the magdyno platform had been cut way on this engine I decided to make a pattern and produce a new timing side cover. A few castings have been made and one has been machined and fitted to this engine. |
|
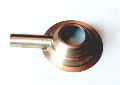
| The late vintage Broughs have the light switch mounted on the tank top in a special shell. I understand this was made by LUCAS and was used on a few other bikes as well. After a few discouraging experiments I found out how to spin these shells from brass sheet over a hardwood core. |
|
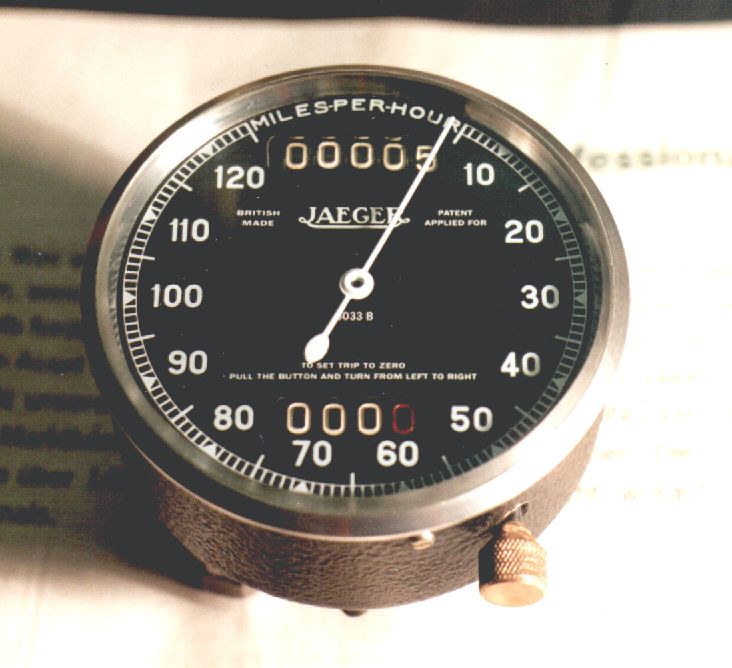
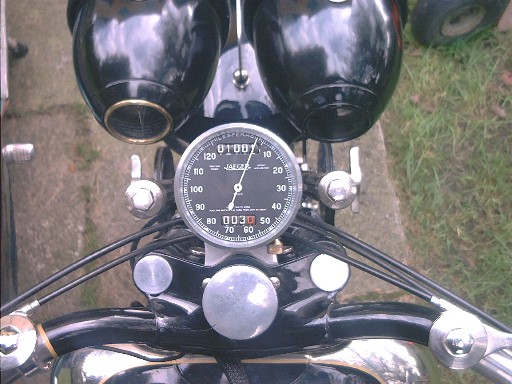
| I was unable to find the correct Jaeger speedometer. As the Smith chronometric speedo is based on a Jaeger patent, its movement is practically identical to the Jaeger one. Thus a Smith speedo head can be converted into a Jaeger. All you need is a Jaeger dial face, a shortened outer shell, a new bezel and a specially ground glass on top of it. And a steady hand in assembling the lot! |
|
| The handlebars that came with the bike were quite rotten. So I decided
to start afresh and make new ones, including the centre portion. A raw
casting for this can be obtained through the BS Club spares scheme. Whilst
being at it I made two new inverted levers
as well. Due to certain experiences with different platers I opted to make
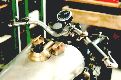
these from stainless steel. You can see the switch shell, handlebars and
speedo head on the pic to the right. The tiller bars on the filler caps have
been made from brass bar, incidentally. I do not claim to have made the tank, though; this has been reproduced to inimitable perfection by master tinsmith Ernie Rowe. |
|
| On the topic of bending stainless steel: After having had a set of exhaust pipes made to a wrong pattern I decided to make my own. I did one pair in normal steel (do you need these?) and then one pair in stainless. I am not sure whether I would like to repeat that, however. |
|
| What use is a speedo head if you have nothing to drive it from? Altogether 12 different parts had to be manufactured to produce a rear wheel speedo drive to the original pattern. |
|
| April 2001: In the beginning of the year I had sandblasted all the bits
to be painted. I think I made some 40+ hardwood bungs to plug up all the
different holes where I did not want the sand to go! Then a lot of elbow
grease went into cutting back the different layers of primer and filler. The
aim was to achieve a perfect finish without having massive layers on top of
the metal. The bike is not running yet, but I am finally through with the paint job! The rest is just a matter of carefully assembling everything. |
|
| 25 June 2001: IT IS ON THE ROAD! I have made my way through the all different obstacles there are in getting a vintage bike MOT tested and registered in Germany. And I have done the first 100 miles on it. There are a few teething troubles: The front brake leaves a lot to be desired and the charge from the dynamo is a bit poor. Of course there is still the odd nut and bolt to be re-tightened. Maybe the main jet could be a bit bigger, but I will have to run my new pistons in before really testing that. But it sure is great fun to ride it! I have now done a few pictures of it. |
|
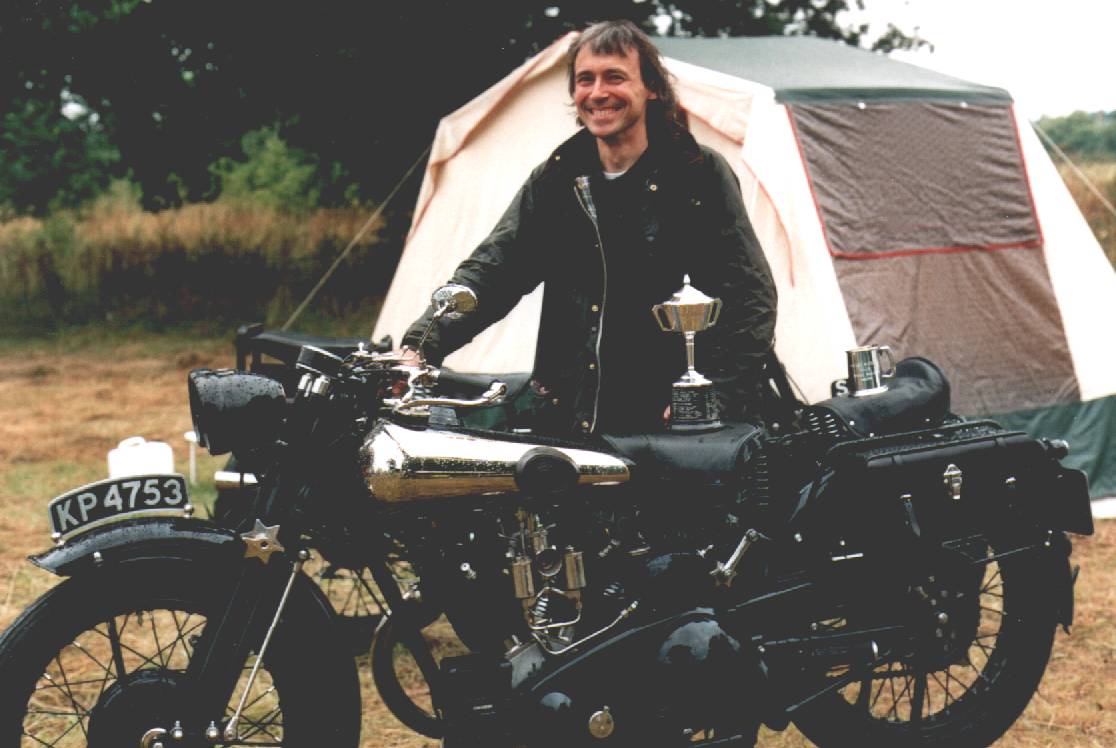
| 11/12 August 2001: I took KP to the Annual Rally at Wimpole Hall. She behaved very well, starting first kick on English soil. Unfortunately I had some trouble during the run itself as the dynamos fibre gear lost a few teeth. But a quick roadside repair got us going again (albeit without lights). On the wet wet Sunday we were awarded a cup for the best 680 at Wimpole. Though I am really not a pot-hunter you can guess how pleased I was, and even the rain stopped pouring down for the photograph! |
|
| September 2002: Due to various circumstances I have not ridden ATP as
much as I would have liked to, but now it has 1000 miles on the odometer.
Problems so far: Nothing serious. I had to dismantle and clean the clutch once as the plates started to stick a little. And I have finally got round to balancing the front wheel. Now I can take her up to 80 mph without the forks wobbling. On a fine day she will even do 85! I am ever so pleased with the way this bike goes, but it might have a better front brake... |
 |
| Oh yes, I fitted a carburettor intake shield. It makes such a difference to the smell of your trousers' left leg! |
|
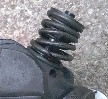
| 6/2003: I did not have a breakdown, but
very near. I noticed that I had 2 broken valve springs! I'll give a short repair about the ensuing repair session. |
|
| 7/2006: I have not ridden KP too much
during the last years. But when I did, I really gave her some "stick". Every
time I have KP out of the road, I cannot but think what a nice mannered bike
she is. And how well she goes. She will always do between 80 and 85 mph on
the level. The odometer is approaching 2500 mls now, and I am afraid cannot entertain you with any new pictures of mechanical disasters...maybe I should have a closer look at those valve springs! I have looked at them now, they are ok. And I have taken a few pics of a bike in use, i.e. without polishing it... |
|
Back to HOME page - over to my Montgomery page
If you have any comments please send an e-mail
to
![]()
(sorry, this is not a clickable 'mailto:' hyperlink. If you want
to write me, please type my address in your mailer. )