 Vintage Workshop
Services for Brough Superior motorcycles and their contemporaries
 Vintage Workshop
Services for Brough Superior motorcycles and their contemporaries |
a relatively easy job - Making the rear chain case for the Montgomery....
| Well, deciding on the shape of the primary chain case had given me some
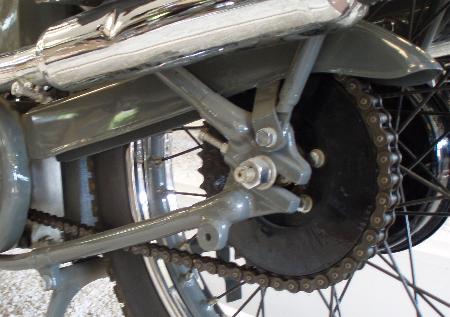
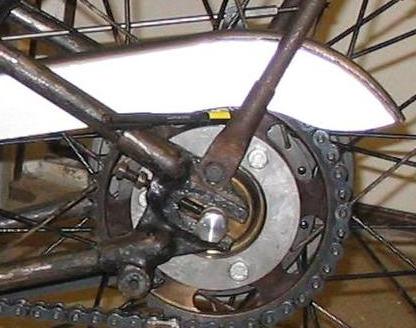
headache, but I thought the rear one would be easy. However, looking at the Montgomery pictures I have available, I had to find that many had the rear chain cover missing and on the rest of the bikes the shapes varied widely. So I had to draw what I think looks like the most likely shape. I found there are also some style considerations to be made unless you want to end up with something that would grace a combine harvester.... One of the problems, again, is the fact that you move the rear wheel to adjust the chain tension. Looking at various rear chain cases, it is clear that the radius it forms around the rear chain wheel needs to be bigger than the latter, but it seems debatable if the chain case radius should or should not be concentric with the wheel. Some makers make it bigger, with the centre somewhere below the wheel spindle, which hides some of the misalignment coming from the chain adjustment. Looking at the chain case of the machine in the National motorcycle museum gave me more doubts that reassurance - I have never seen a chain case with a beaded edge on any other Montgomery. The shape does not seem to fit, and the way it is attached does not look nice - I think someone lost patience here, in trying hard to get the machine finished. Whether this happened at the works or in the shop of a restorer we will probably never know, as contemporary nearside shots are unfortunately rare as the proverbial hen's teeth... |
 |
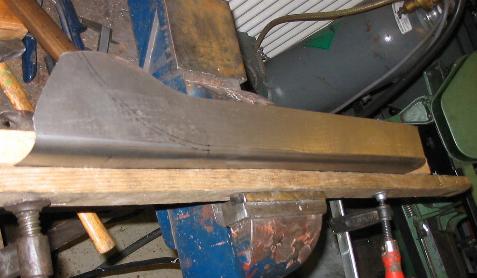
| Ok, I had made my decision. I decided to make the chain case from one
piece of sheet metal, just cutting two bits out at the rear end.
Here I am just doing the second half of the top bend. |
 |
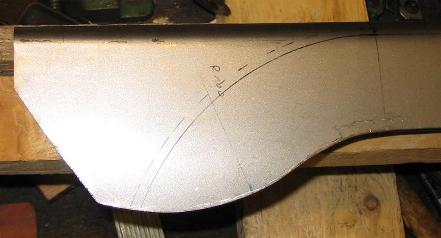
| Now for the more interesting bit - the rear end: I had drawn up the side view and the top view on the sheet, allowing some material for the radius joining both. The bit in between was cut away. |
|
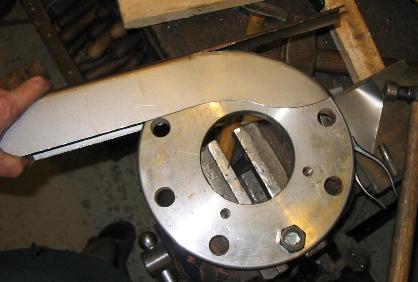
| Shaping the radius to the sides was relatively easy.
I was rather lucky I found a big old pipe flange that had done duty to hold the cylinder barrels of my MX80 about 15 years ago, when they wanted some milling operations done. All I had to do was turn a nice radius to one of its edges and I had a wonderful former to shape the radius on the side panels.. |
 |
| Of course, the central bit was more difficult. It took me quite some
beating until it had roughly the right shape. Unfortunately, in the heat of
the battle, I forgot to take any pictures of the intermediate stages,
but here I am trying it on before welding the seams.
To be honest, I am not 100% happy with the result. The job would have been much easier had I cut the central strip of metal narrower, so that only a slight radius would have to be shaped to its edges, as shaping a bigger radius to the side panels is far easier than handling the flimsy central bit which gets distorted fairly easily...Well next time, perhaps. |
 |
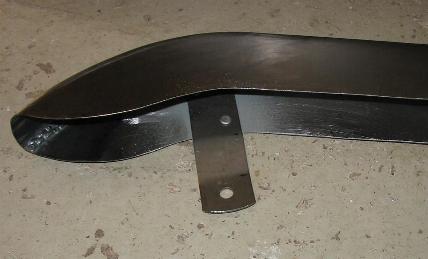
| All I had to do now was devising and riveting a support bracket to it, cut the front end to the right length... |
 |
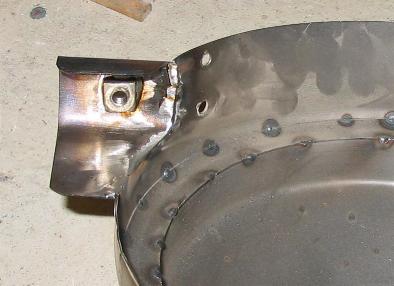
| ...and add a kind of channel to the primary chain case where the rear
one is attached. I made sure to solder a 1/4" BSF nut into this channel so
the rear chain case can be fastened to it without fiddly operations.
A leaf out of G.B.'s book incidentally - I am not sure how Montomery's solved this normally. |
 |
If you have any comments please send an e-mail to
![]()
(sorry, this is not a clickable 'mailto:' hyperlink. If you want
to write me, please type my address in your mailer. )