Vintage Workshop
Services for Brough Superior motorcycles and their contemporaries
|
Vintage Workshop Services for Brough Superior motorcycles and their contemporaries |
Making the exhaust pipes...
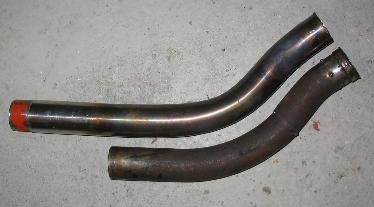
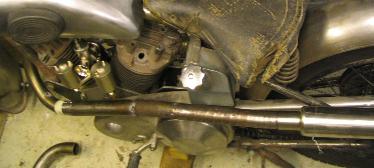
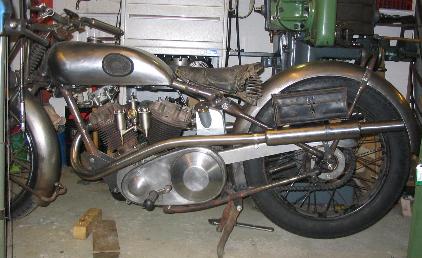
| With the silencers available, I could finally go ahead and try out how to route the exhaust pipes. For the timing side pipe I had already made a pattern out of leftovers from my 680 Brough restoration. |
|
| Hot bending this one from 42x1.5mm stainless steel tube was not beyond my capabilities, though the sharper bend at the front end showed some slight signs of buckling... |
|
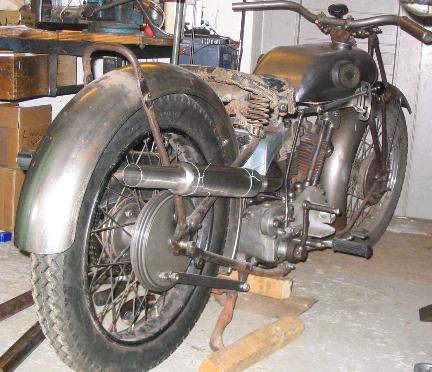
| With the timing side silencer fitted, I could start to route the drive side pipe. |
|
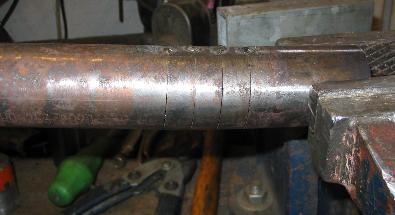
| Slight bends in the pattern pipe can be made by making a number of saw cuts, which yields a kind of flex-pipe, and welding. |
|
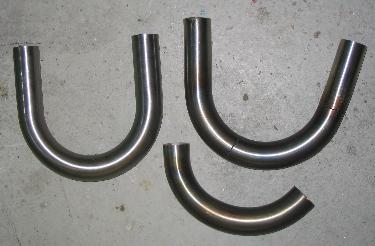
| I was aware that the narrow bend at the front end would be very difficult to make, especially in stainless steel. So I used readily available pipe bends here. Unfortunately these were a bit too narrow, so I stuffed them with sand and opened them up a bit. |
|
| After much cutting and shutting and a number of welding spots made and
opened up again I finally found a shape I
was satisfied with.
Now it was bending time again. The front bit, made from the above mentioned pre-fabricated pipe bends would be re-used, but the rest would need to be bent from a single tube. |
|
| I did not want to go wrong with this long pipe and did some research on the internet - I
wanted to know if there are some secrets in stuffing and heating the pipe.
After a long search I found a page by a keen Welsh buggy builder, Robert
Frost-Stevenson. Have a look at his page
http://www.rorty-design.com/content/sand_bending.htm if you are
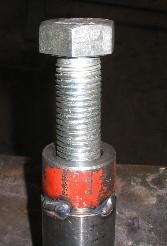
interested. From him I learnt that stuffing and ramming the sand is not
enough, you can do better by compressing it with a thick bolt in one of the
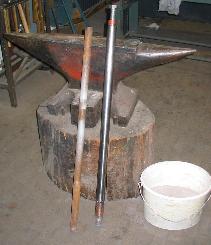
plugs welded into the pipe ends. So, after ramming the fine, dry sand into the pipe (a big anvil is very helpful, and a heavy ram rod is a must!) I welded the upper plug to the pipe, in which I had cut a M24 thread before. |
|
| I had really done my best to compact the sand when filling it into the
pipe. I had used the ram rod extensively after each small cup full of sand
added and thumped the whole pipe many many times on the anvil. I could
hardly believe it: thumping the pipe again and again, I could turn the bolt
in many many turns until the sand seemed to be totally tight!
So, a big THANK YOU to "Rorty Design", and I hope having properly cited Robert's work the ancient Irish curse quoted in his copyright annex will not hit me! |
|
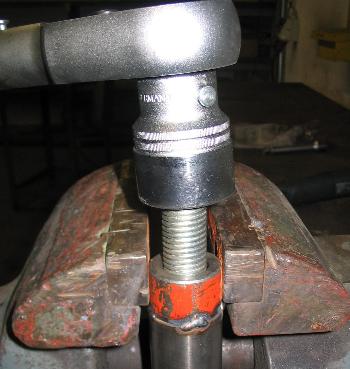
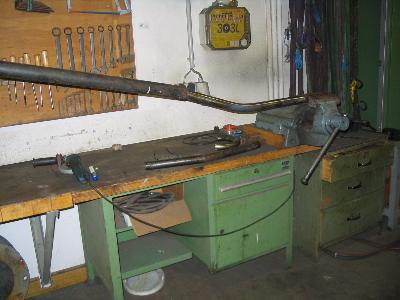
| Thus prepared, all you need is lots of heat, a big, sturdy vice, and, in
case of stainless steel, some physical strength or at least a long leverage
- even when red hot, stainless steel is still pretty tough!
|
|
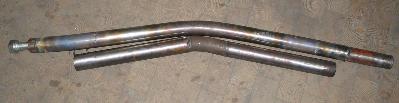
| So, this is the pattern and the pipe thus bent. Of course I took the opportunity to make the bend in the middle a bit nicer than the one on the pattern. |
|
| Now it was more or less a matter of finding the right spot to cut and join the two sections. I took my time to do this, taking off small bits of either side until the two matched nicely. |
|
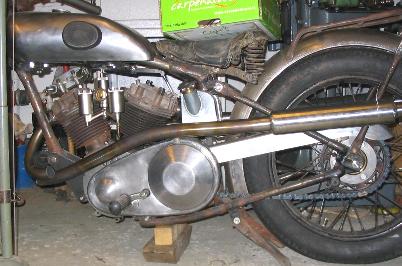
| This is the pipe after welding and some polishing. |
|
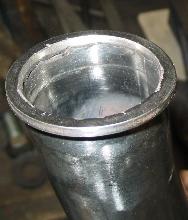
| Ah, of course we need something to hold it to the cylinder barrel. I turned rings which I welded to the front ends of the pipes. |
|
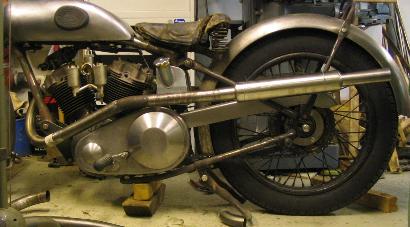
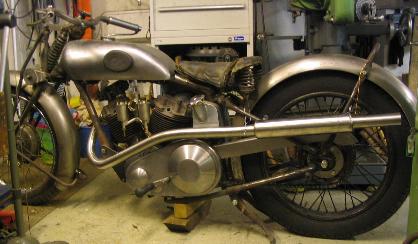
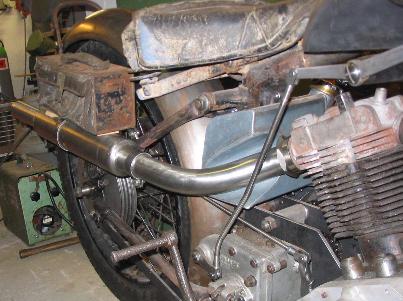
| Here, I have made the attachment clamps and I have fitted the toolboxes as well. |
|
| The one on the drive side has a nice patina, but this one looks a bit worse I am afraid... |
|
If you have any comments please send an e-mail to
![]()
(sorry, this is not a clickable 'mailto:' hyperlink. If you want
to write me, please type my address in your mailer. )