Vintage Workshop
Services for Brough Superior motorcycles and their contemporaries
|
Vintage Workshop Services for Brough Superior motorcycles and their contemporaries |
Enfield 8" brake plates last update: 7/2006
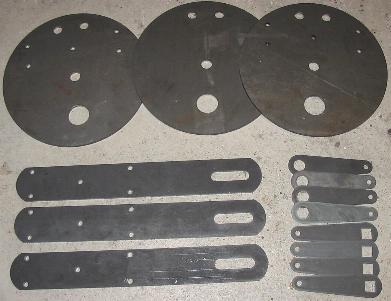
| You can't have a laser cutting made unless you have made a CAD drawing.
And then, the cuttings don't come for free. However, compared to the time you need to hacksaw and drill bits like these, they are good value for money. The plates themselves, for instance, want just reaming the hole for the brake cam housing and the ones for the brake shoe pivot pins. |
|
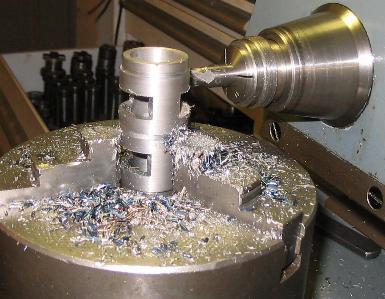
| The brake cam housing was a bit troublesome to make as I could not get a
suitable tube in a good material. So I had to bore out a solid blank.
The other problem is that it is difficult to chuck while milling the windows for the brake shoe thrust pads. My solution was to machine a pair of them, and separate the two bits after all other machining has been done. |
|
| After silver soldering the housing into the brake plate I ream it to size. |
|
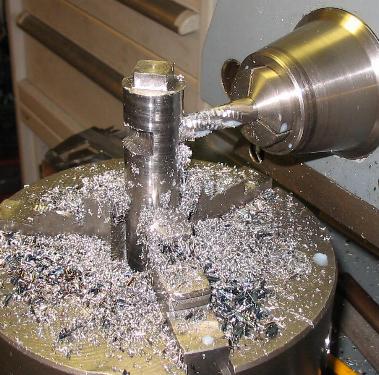
| The same trick as above for the brake cam.
For this part, I use pre-heat treated 42CrMo5 again. This is obtainable in nice, smooth blanks calibrated to 22mm h6, so please forgive me for going metric here instead of using a 25mm material and turning it to 7/8". I have seen cams with the levers brazed on, and others using a serration for joining the lever. I am using a 1/2" square for the rear brakes. |
|
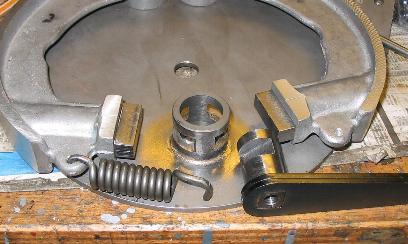
| Here is the whole setup: cam housing, cam, lever, shoes with thrust pads and spring... |
|
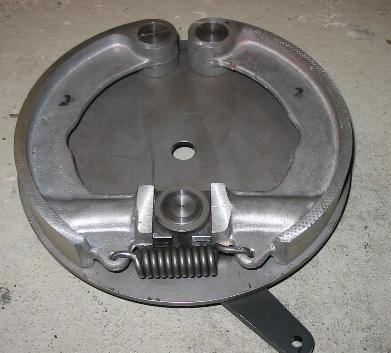
| ... and this is how it looks when it is assembled. |
|
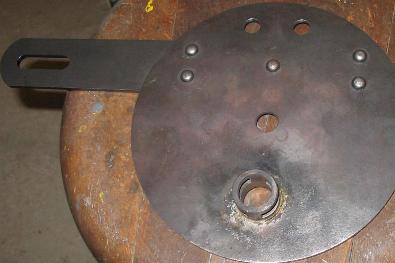
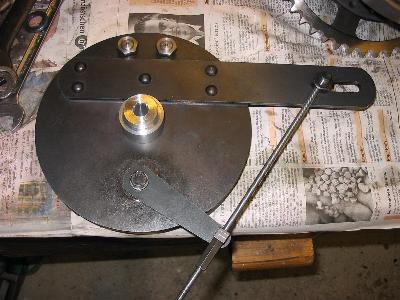
| Now a Brough rear brake has a sturdy brake anchor riveted to it. It took a few experiments until I managed to make nice rivet heads, but I think this is nice enough to be shown here. |
 |
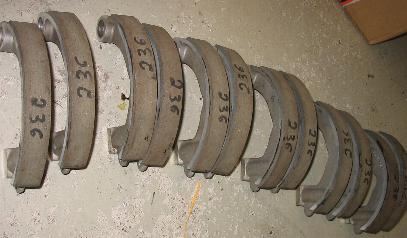
| I had a few shoes lined since. I usually have the linings made oversize,
in order to machine them to fit the brake drum.
|
 |
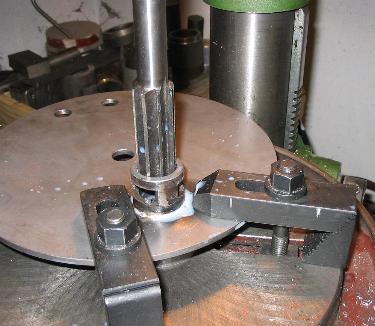
| I had to find that, due to the long Brough type brake anchor, the swing of my lathe is not sufficient to turn the whole lot. So I did it on the rotary table of the mill, and I found this is much preferable to the turning operation! | 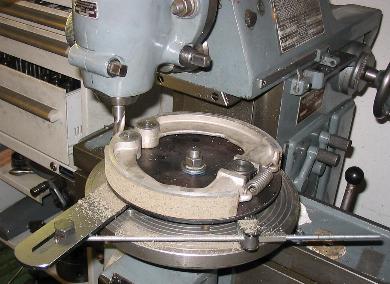 |
| The method is to slightly open the brake shoes and then machine them to
the inside diameter of the brake drum. To open the shoes in a controlled
way, I made this little jig. And, of course, the little jig in the centre that makes sure the brake plate is running true to the centre of the rotary table. |
 |
| The end result is a brake that usually works very well from the start, without any need to laboriously bed in the linings. | 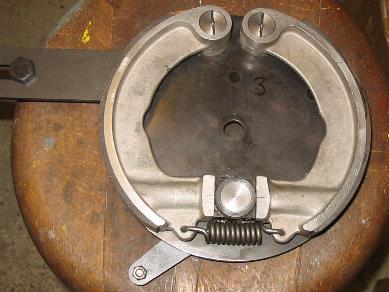 |
Any kind of feedback to
![]() is
appreciated
is
appreciated
(sorry, this is not a clickable 'mailto:' hyperlink. If you want
to write me, please type my address in your mailer. )