Vintage Workshop
Services for Brough Superior motorcycles and their contemporaries
|
Vintage Workshop Services for Brough Superior motorcycles and their contemporaries |
brake shoes for Enfield 8" hubs last update: 2/2006
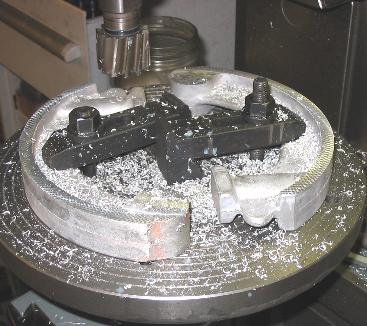
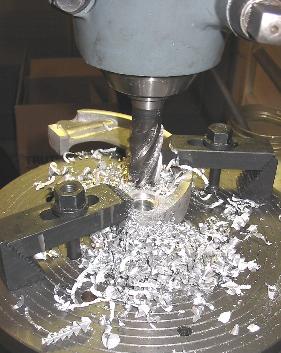
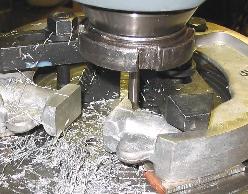
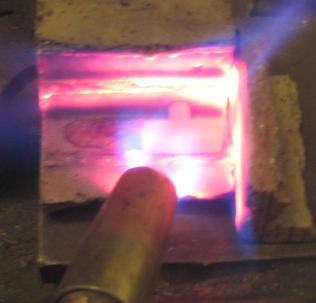
| I had built a pattern and had a few shoes cast in a good Aluminium, heat
treated for strength. So far, so good. Now we first need one plain surface on them. It is important not to distort the casting too much while making this first surface, as you want it to be as planar as possible. I don't claim this is the ultimate way to clamp the casting, but if you watch carefully what happens and judiciously file down the odd high spots on the underside it works quite well. Of course you don't bolt it down with an extension on the spanner until the juice dribbles out of the pores...
|
|
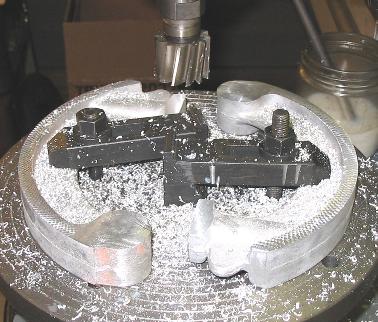
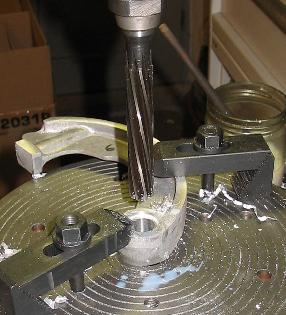
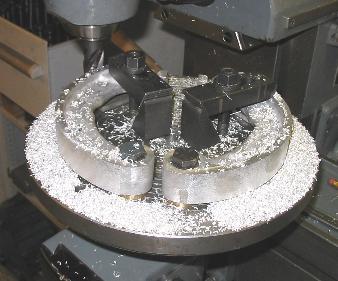
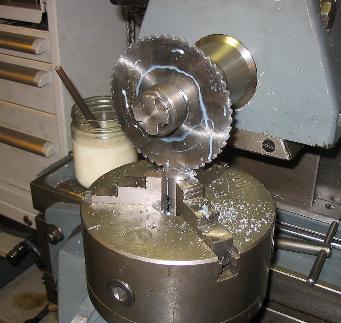
| Now, cutting the other side is easy. And I do the sides of the brake cam thrust pads in the same set-up. |
|
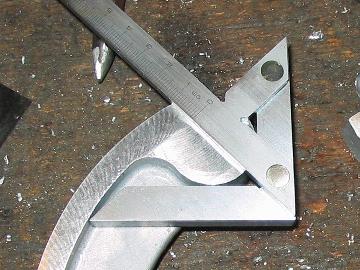
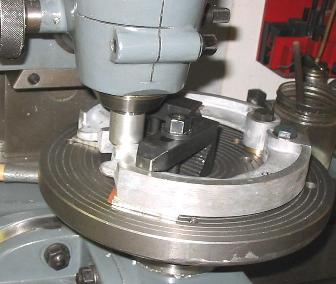
| The pivot bolt bore wants to be in the middle of the round boss.
I don't know how you call this tool in English, but it is very useful for marking out the centres. (A present from my daughter, incidentally, who is a goldsmith apprentice, by the way...) |
|
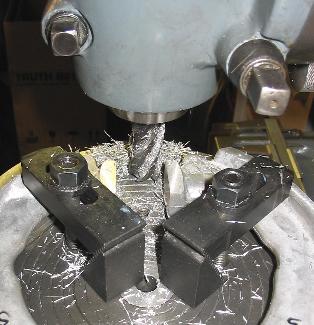
| Now it is a matter of centre drilling and machining the hole, |
 |
| milling the recess for he bolt head (I will also have to do this on the other side, later!)... |
 |
| ... and reaming the bore to size.
You might find this boring (pardon the pun) but please bear with me, this is just to illustrate that you cannot cut any corners |
 |
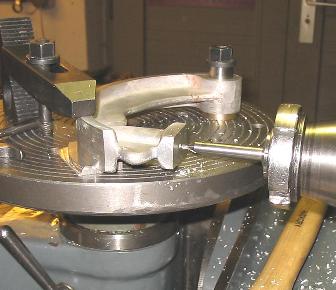
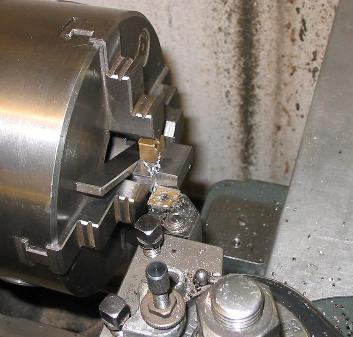
| Now, to machine the outside, I drilled two more threads into my
faceplate in the exact position for the pivot bolts.
I then lined up the shoes using a little jig in the milling head spindle. |
 |
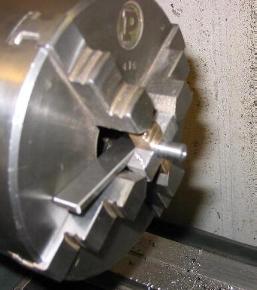
| Now I can machine the faces for the thrust pads, |
 |
| mark out where I want the bore for the thrust pads to be... |
 |
| ... and finally machine the outside of the shoes. |
 |
| Again, with the work nicely aligned at right angles, I can now centre drill, drill, countersink and ream the bore for the thrust pad pins. I'll spare you the pictures this time... |
|
| The thrust pads I machined from a piece of flat steel, which I chucked
in a slightly dangerous way...
|
 |
| For safety reasons, I do not recommend to imitate this, though it worked quite well. |
 |
| I made the padds from 16MnCr5 case hardening steel.
It would of course be nice to carburise them. But I learnt that if you just harden them without carburising, you will get a pretty tough material, with about 800 ... 900 N/mm^2 tensile strength. Which I think is giving a hard enough surface, and is much preferable to using silver steel which I feel has a high risk of getting too brittle unless you have very good control over your hardening and tempering temperatures.
|
 |
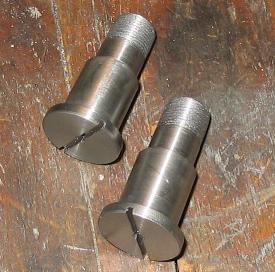
| Another slightly time-consuming job is making the pivot bolts. I am
using 42CrMo4 steel, pre-heat treated to about 700 N/mm^2 tensile
strength for these.
I won't bore you with the lathe work, but when you have finished the diameters and thread they still want cutting a screwdriver slot.
|
 |
| This is how they look when finished. |
 |
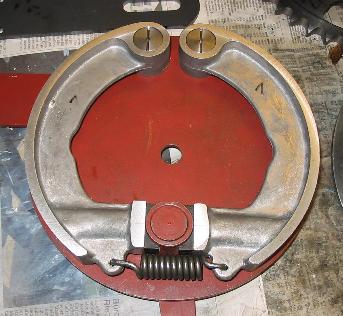
| Now (that is, if you have already got a brake plate, brake cam and lever
and a spring, and after making the two pivot bolt nuts) you can finally
assemble the whole lot! By the way, one more "Thank You" to Terry for sending me a number of springs! |
 |
Any kind of feedback to
![]() is
appreciated
is
appreciated
(sorry, this is not a clickable 'mailto:' hyperlink. If you want
to write me, please type my address in your mailer. )