Vintage Workshop
Services for Brough Superior motorcycles and their contemporaries
|
Vintage Workshop Services for Brough Superior motorcycles and their contemporaries |
Sturmey Archer gearbox page last update: 03/2022
|
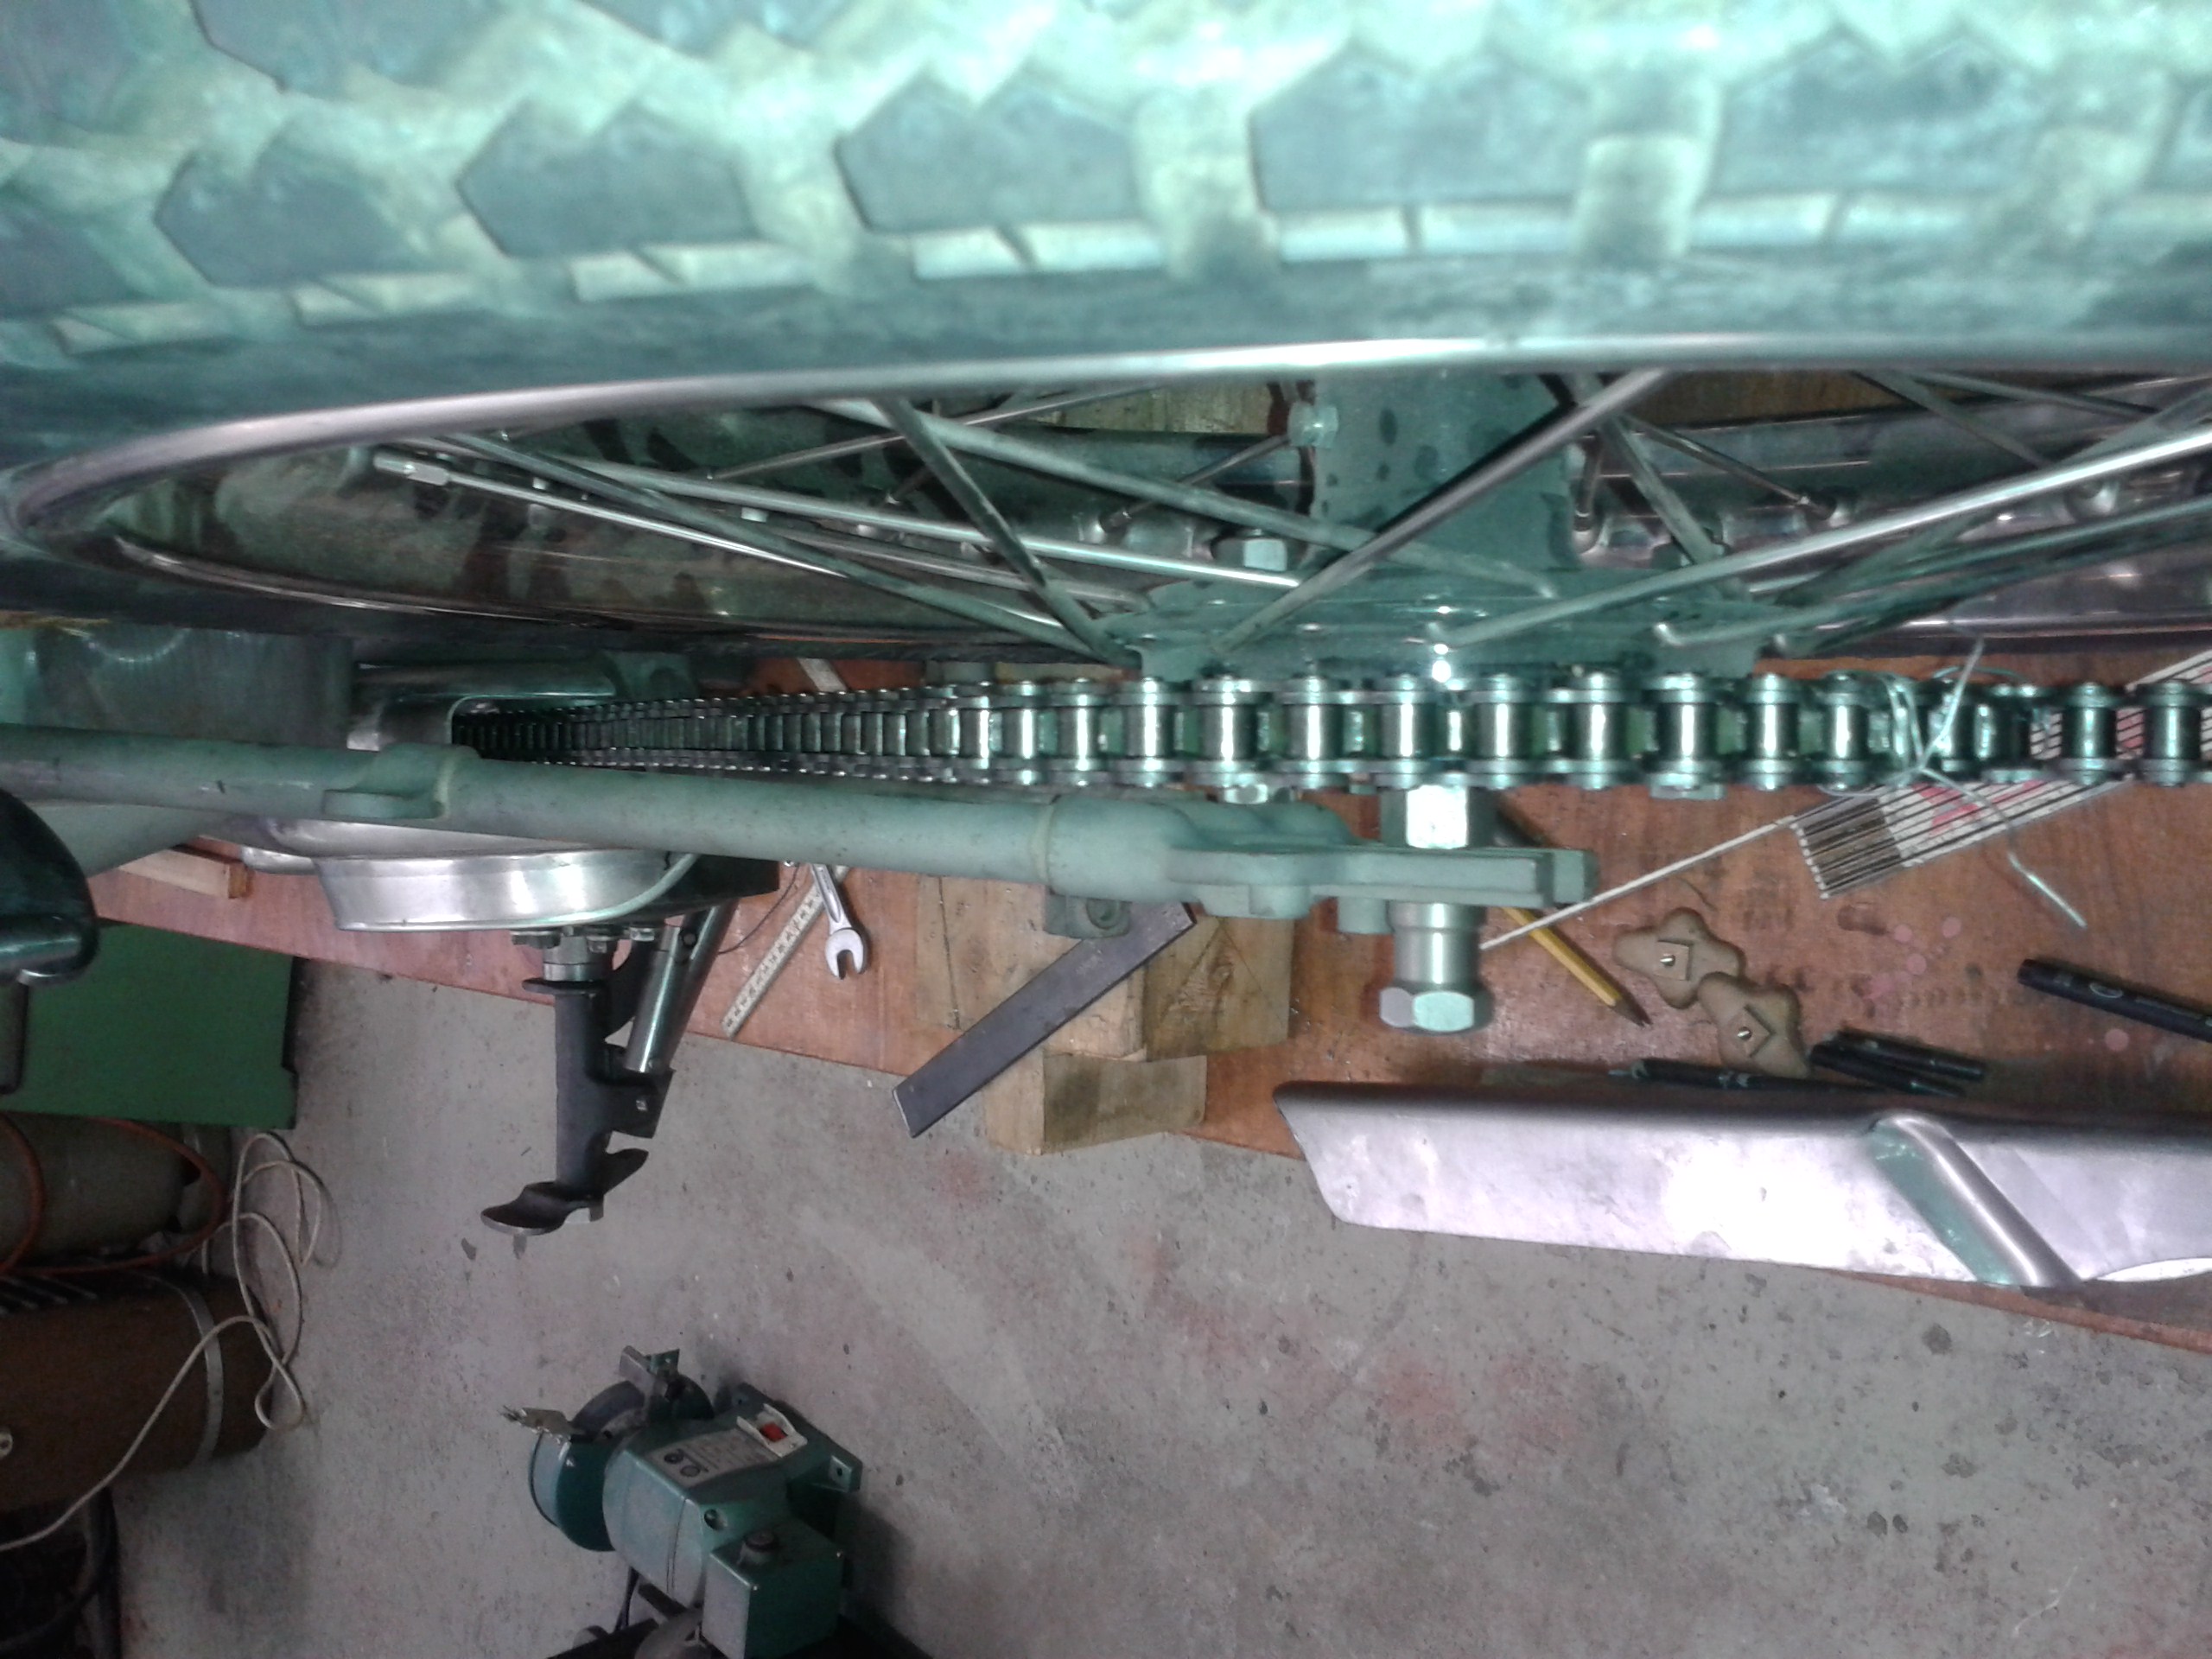
OK, as I stated before, I thought I had a suitable gearbox. I had carefully aligned the chain line of gearbox and rear hub but I don't know why it never occurred to me to fit a rear chain. I bought one only recently and fitted it, only to find it would fould the rear upper frame tube! |
|
|
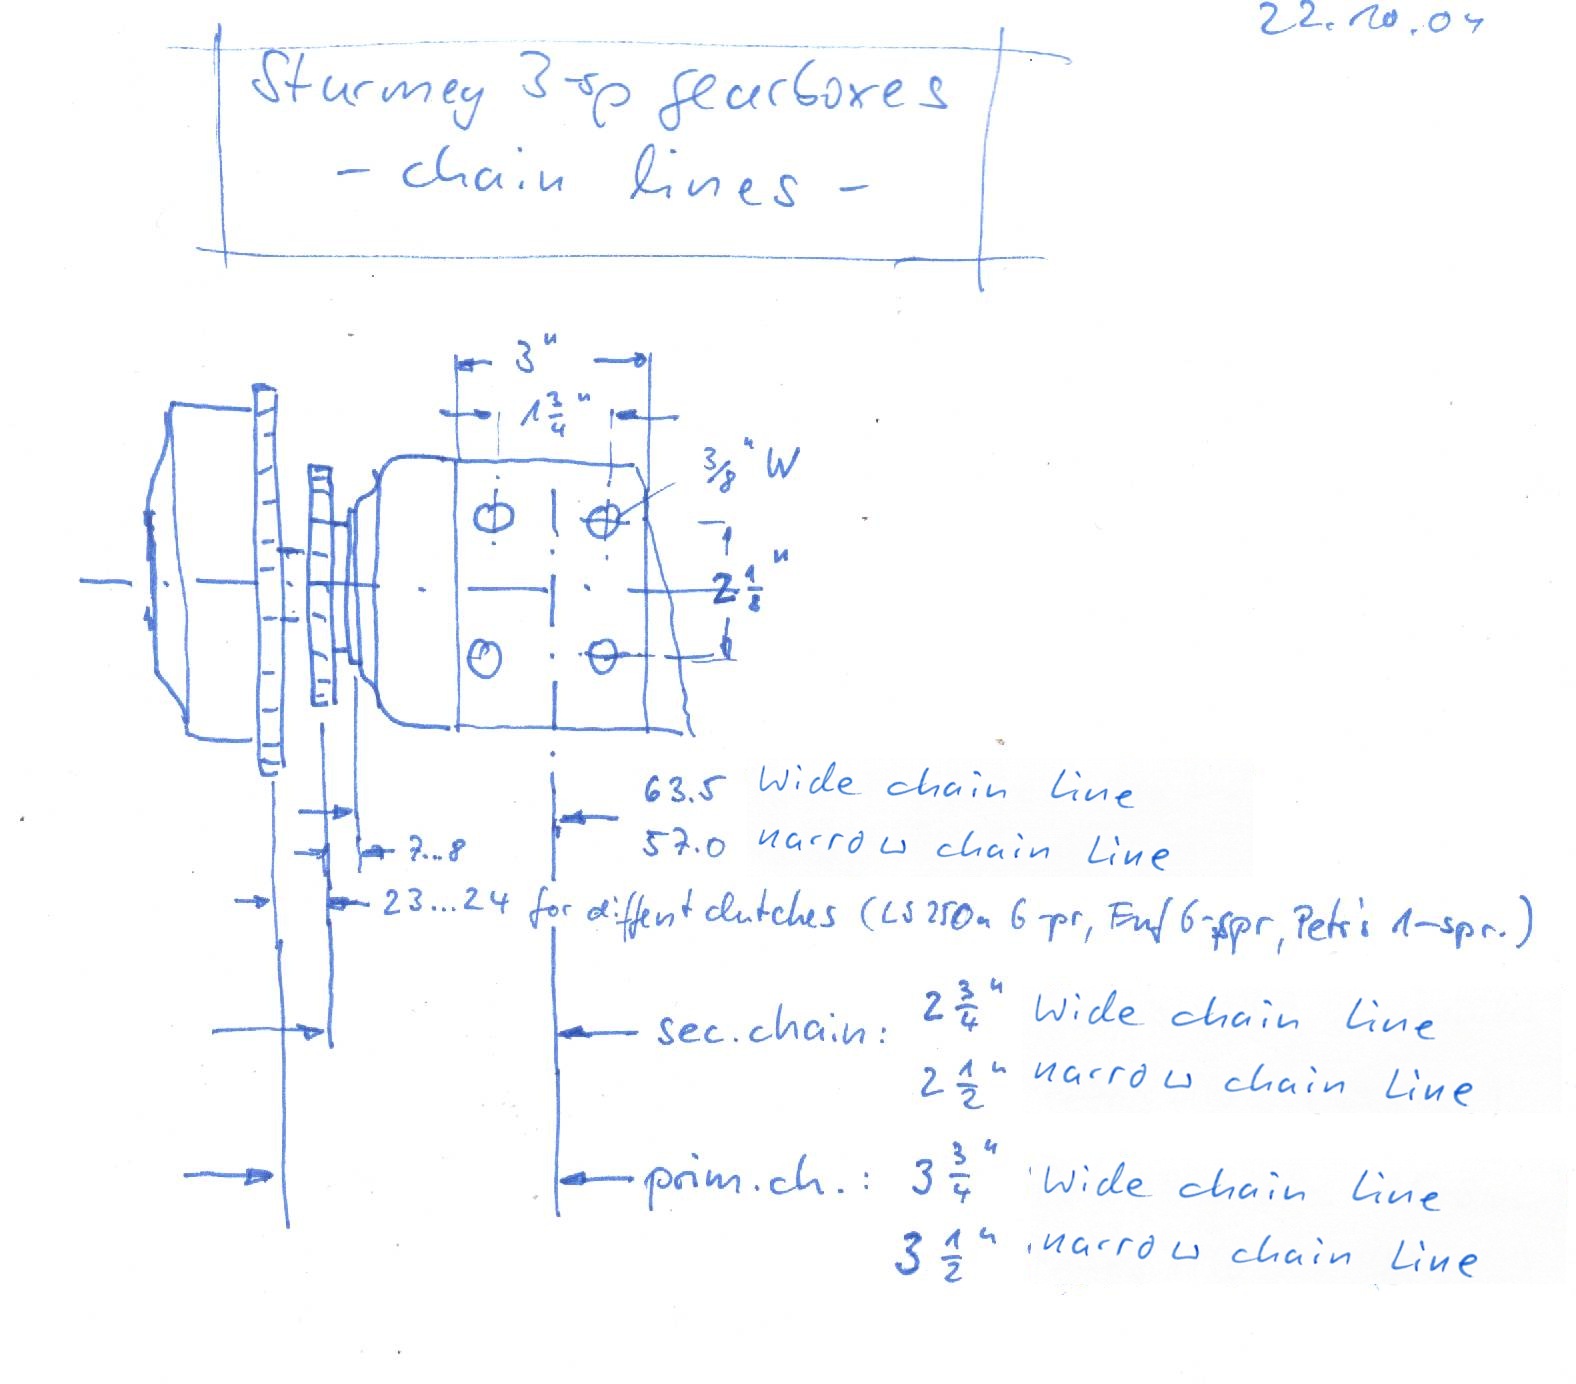
I had known before that the Sturmey LS HW gearboxes are coming with two different chainlines No idea why it occurred to me that the wider one was ok. Enquiries at "those in the know" told me I need a gearbox with the narrow chainline, i.e. 2 1/2" or even 2 7/16" for the rear chain. |
|
|
Now I thought that was not so bad - I had collected some stuff over the past years. And there was a seemingly usable narrow chain line box among that.
So I fitted it, only to realise that |
|
|
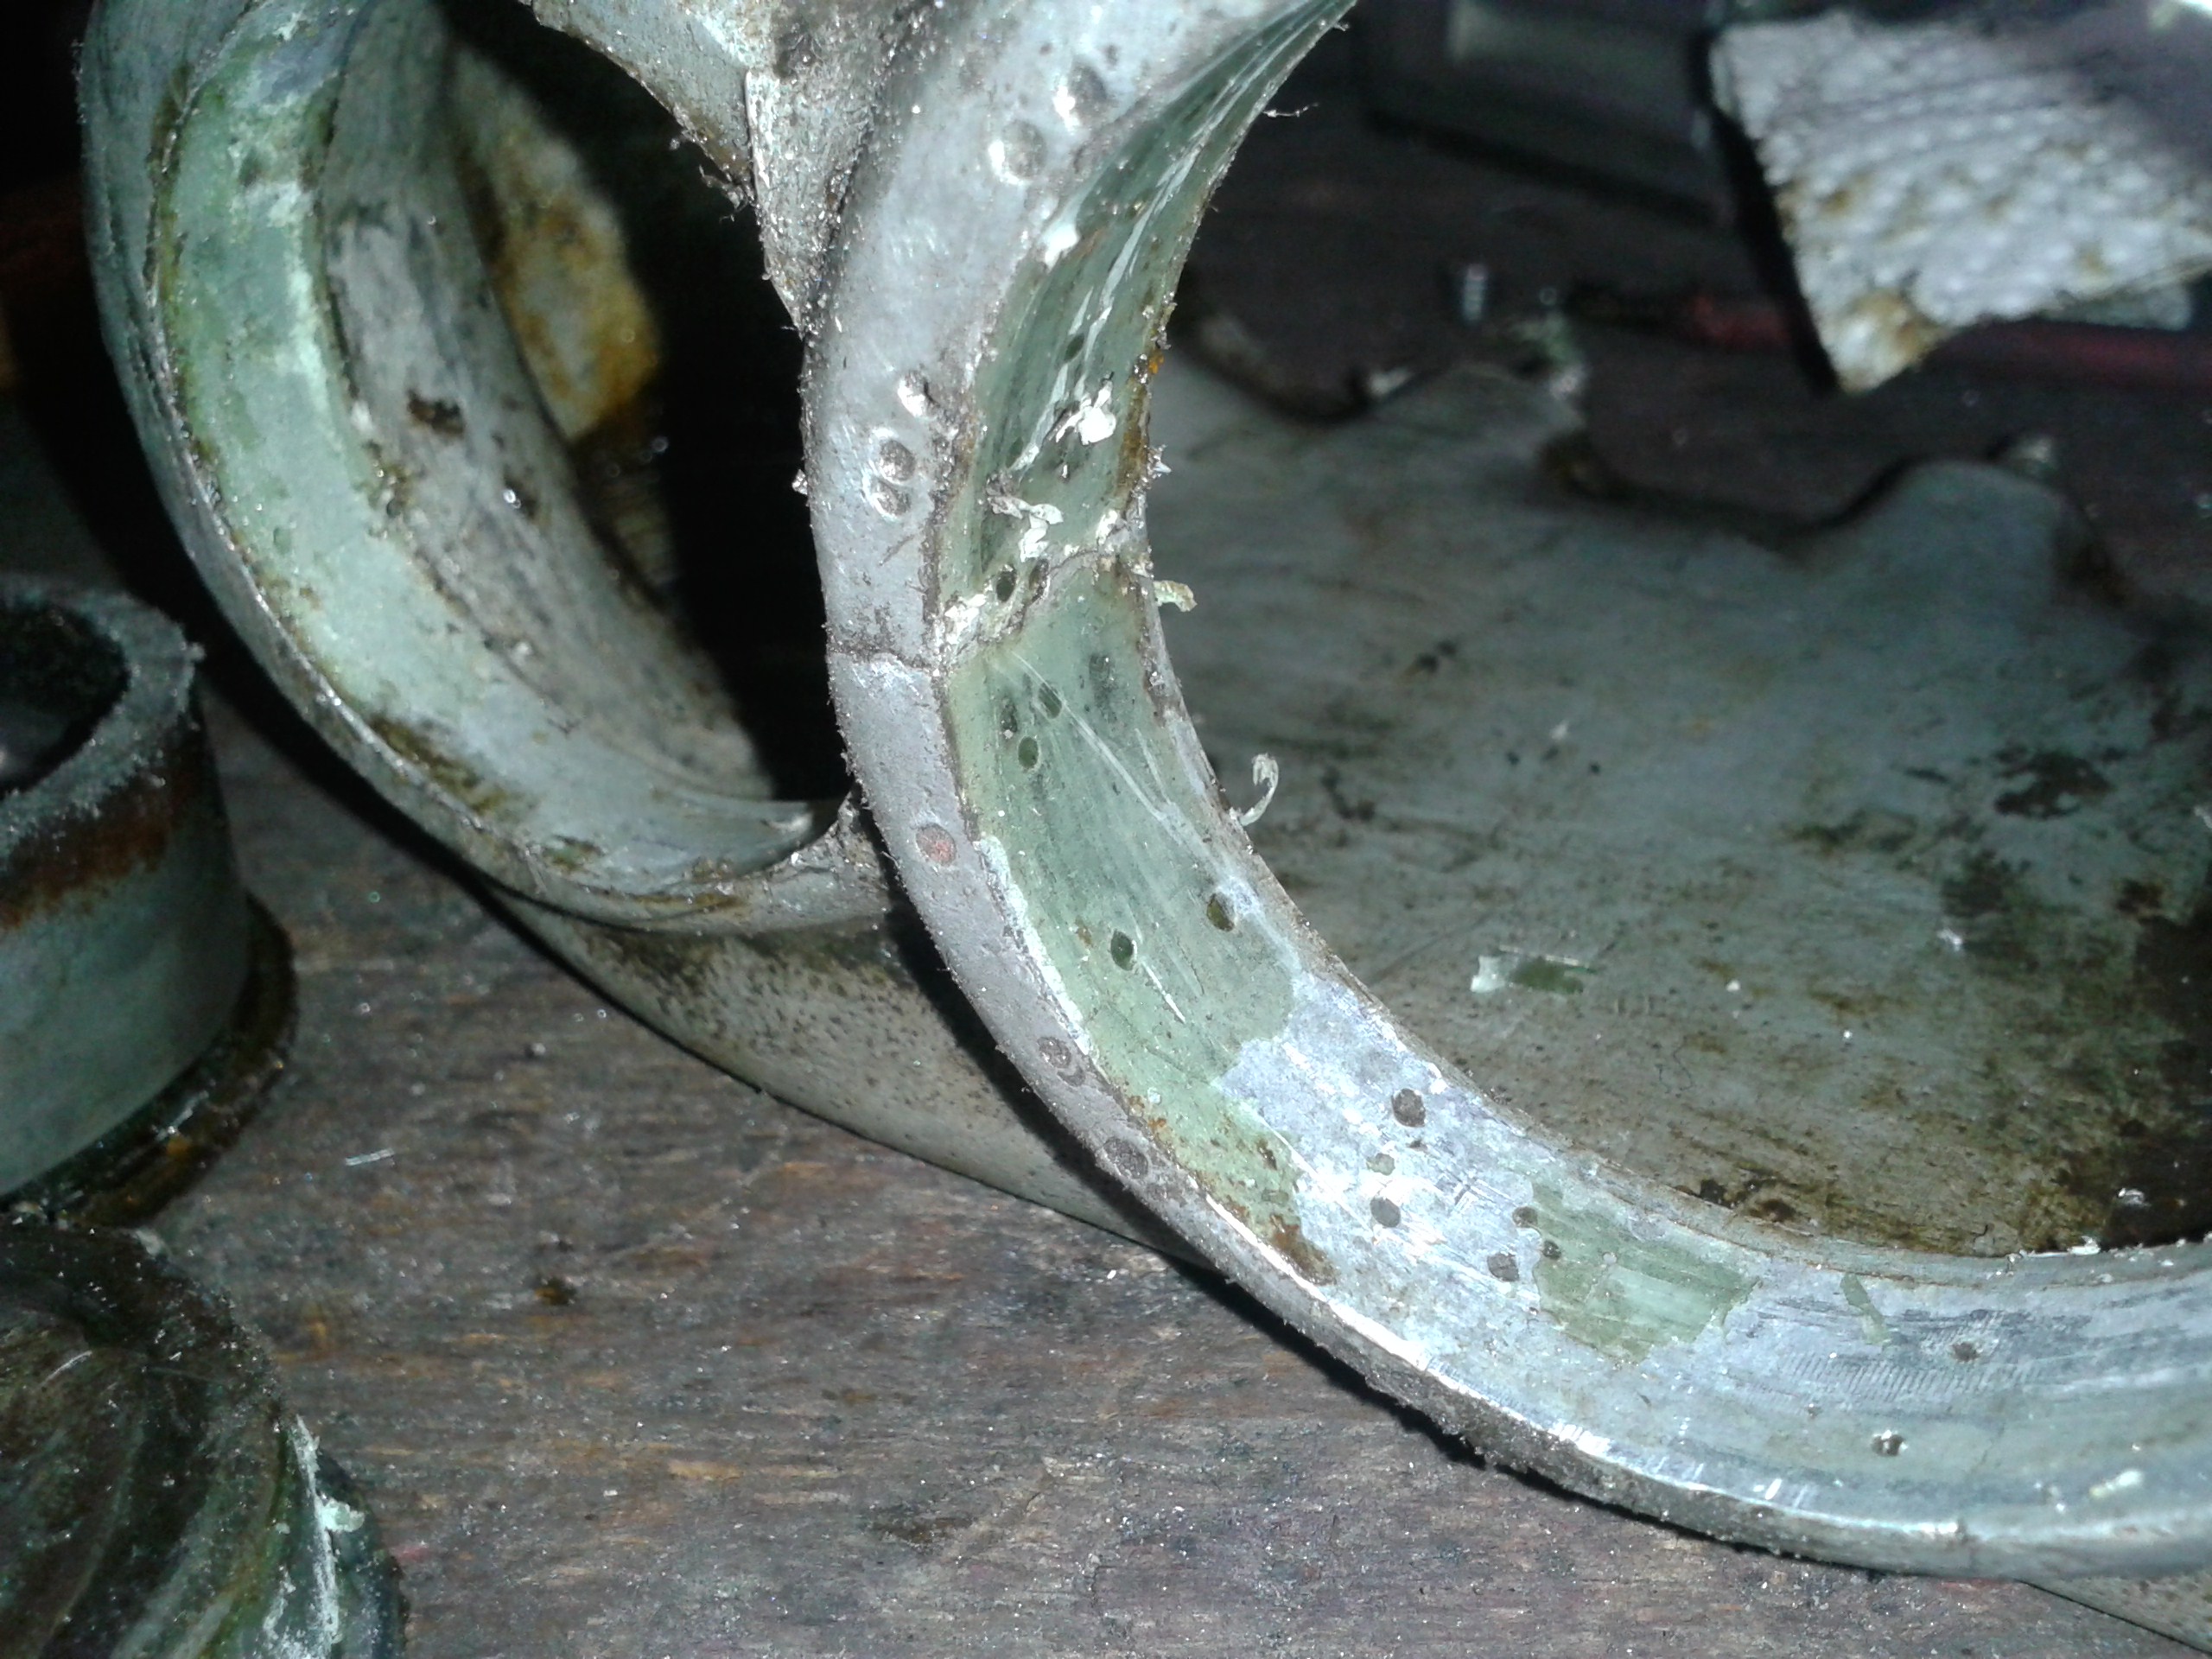
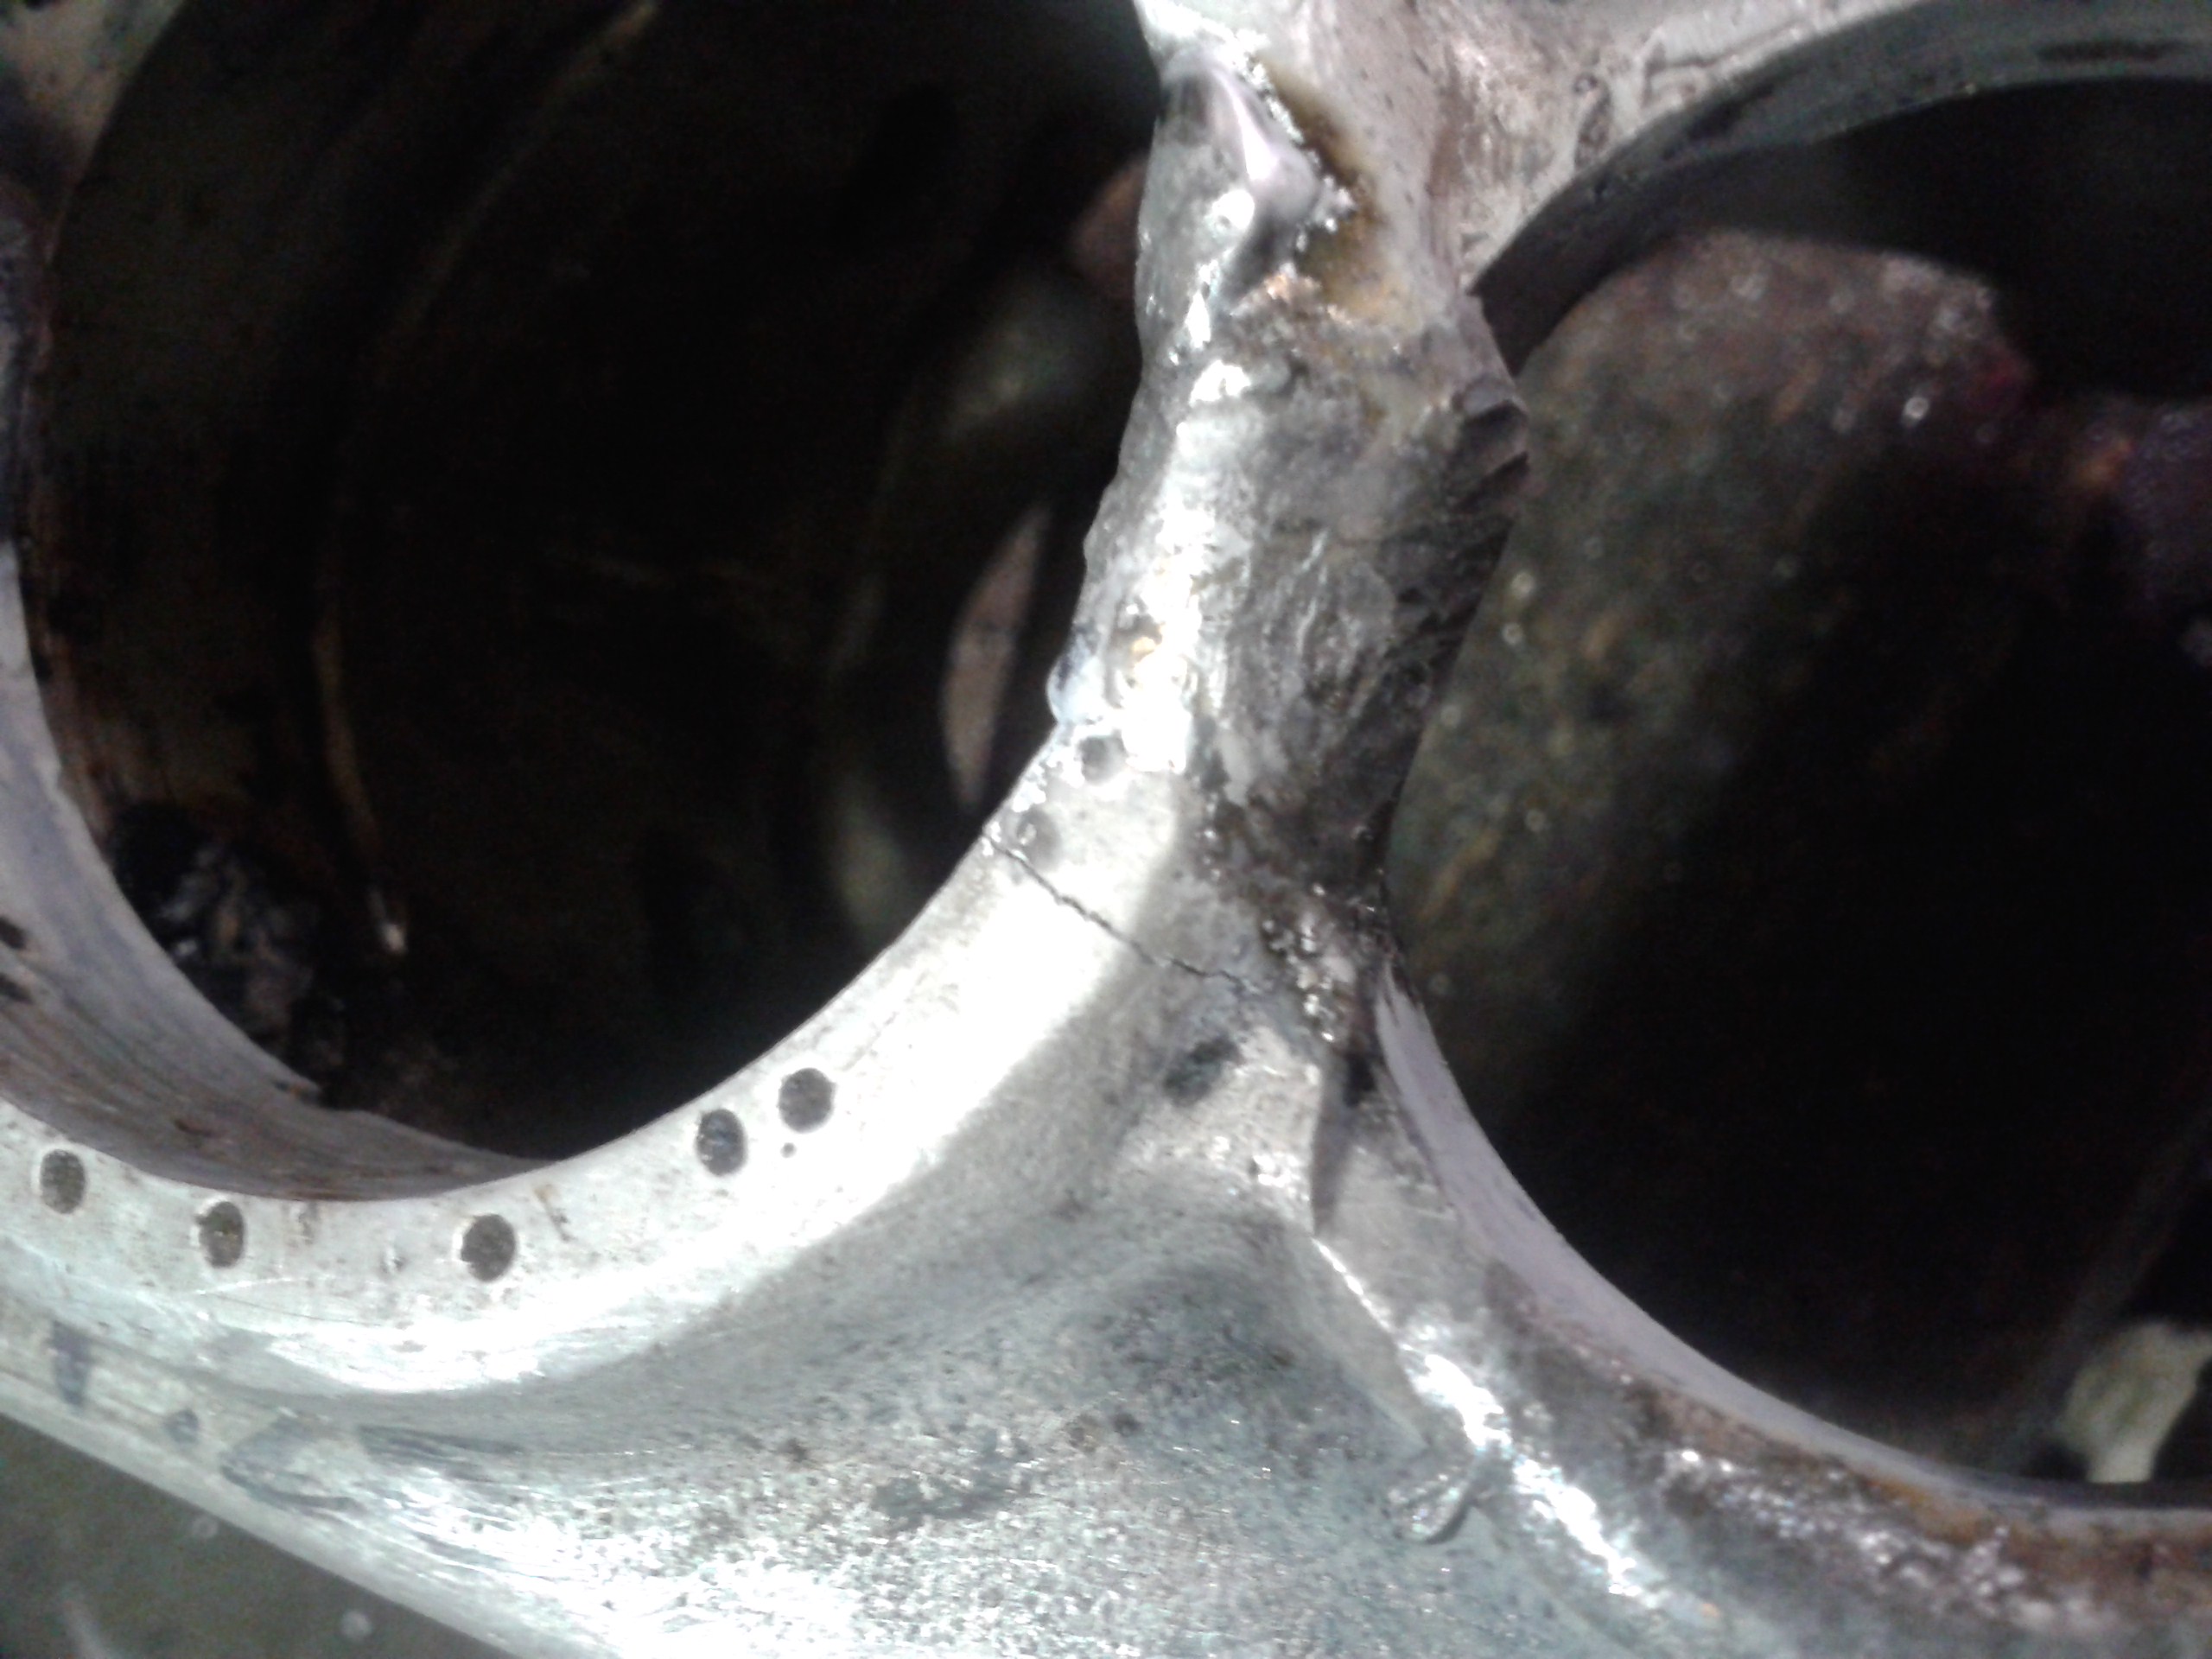
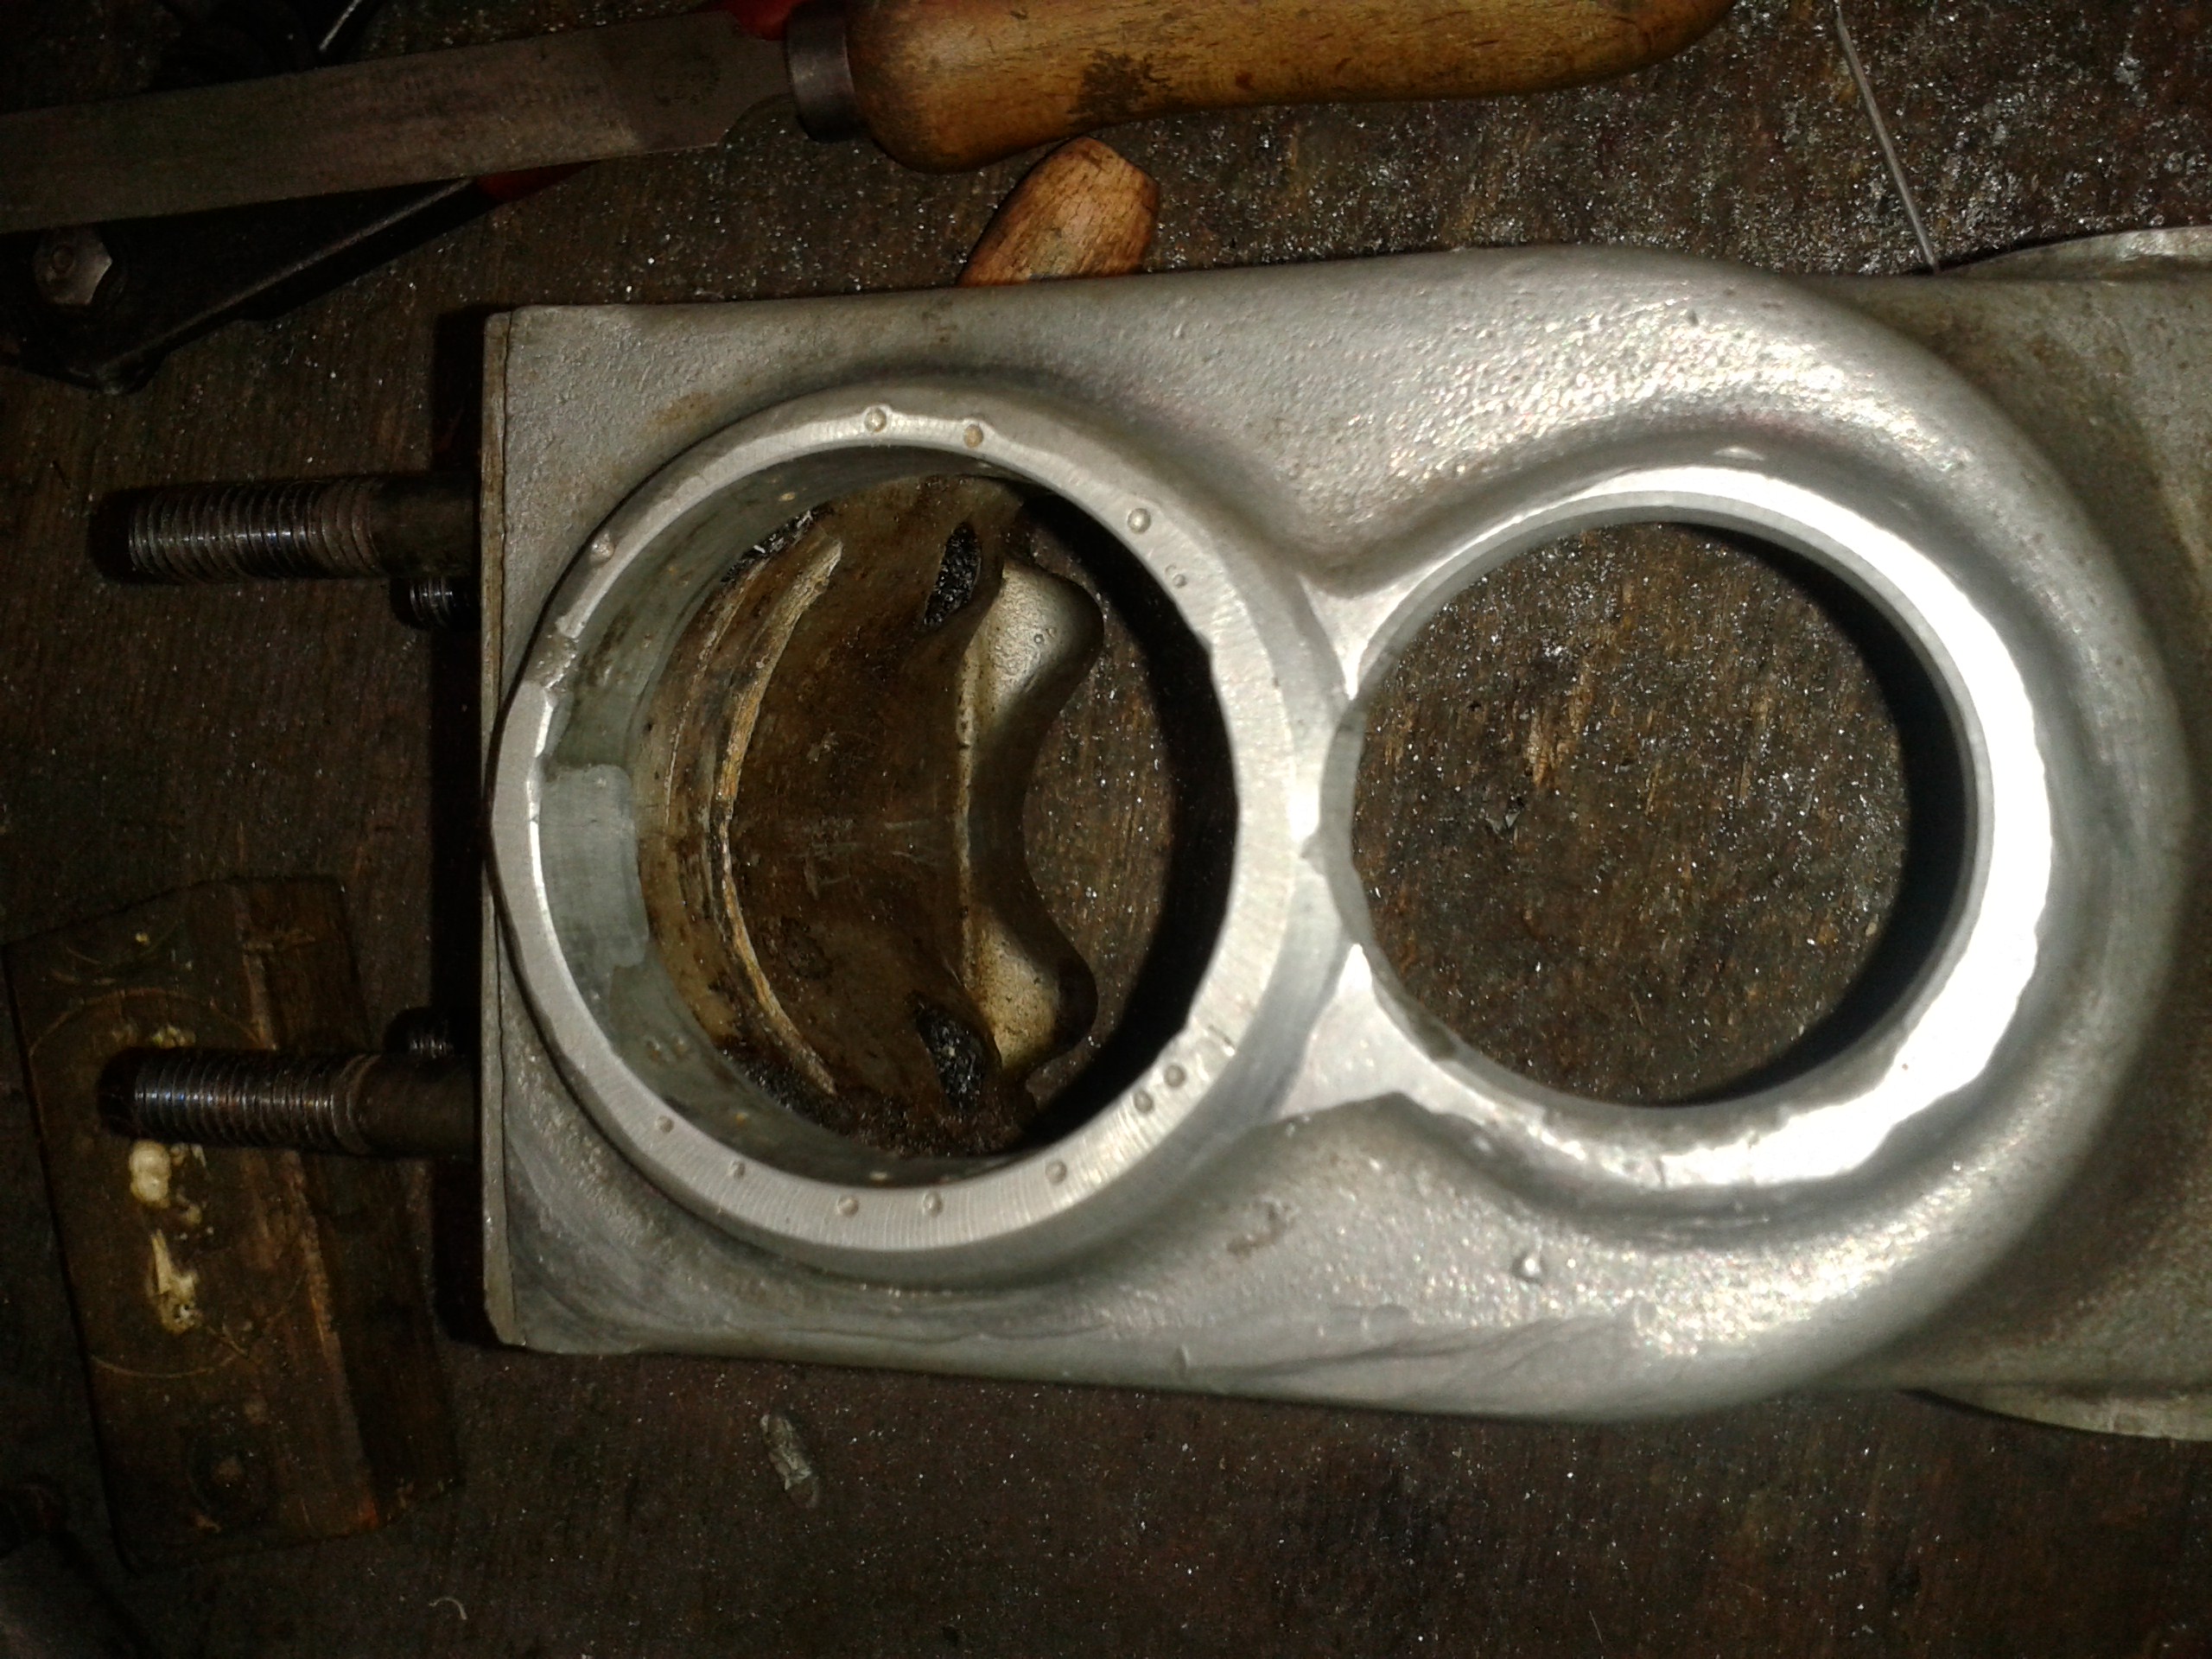
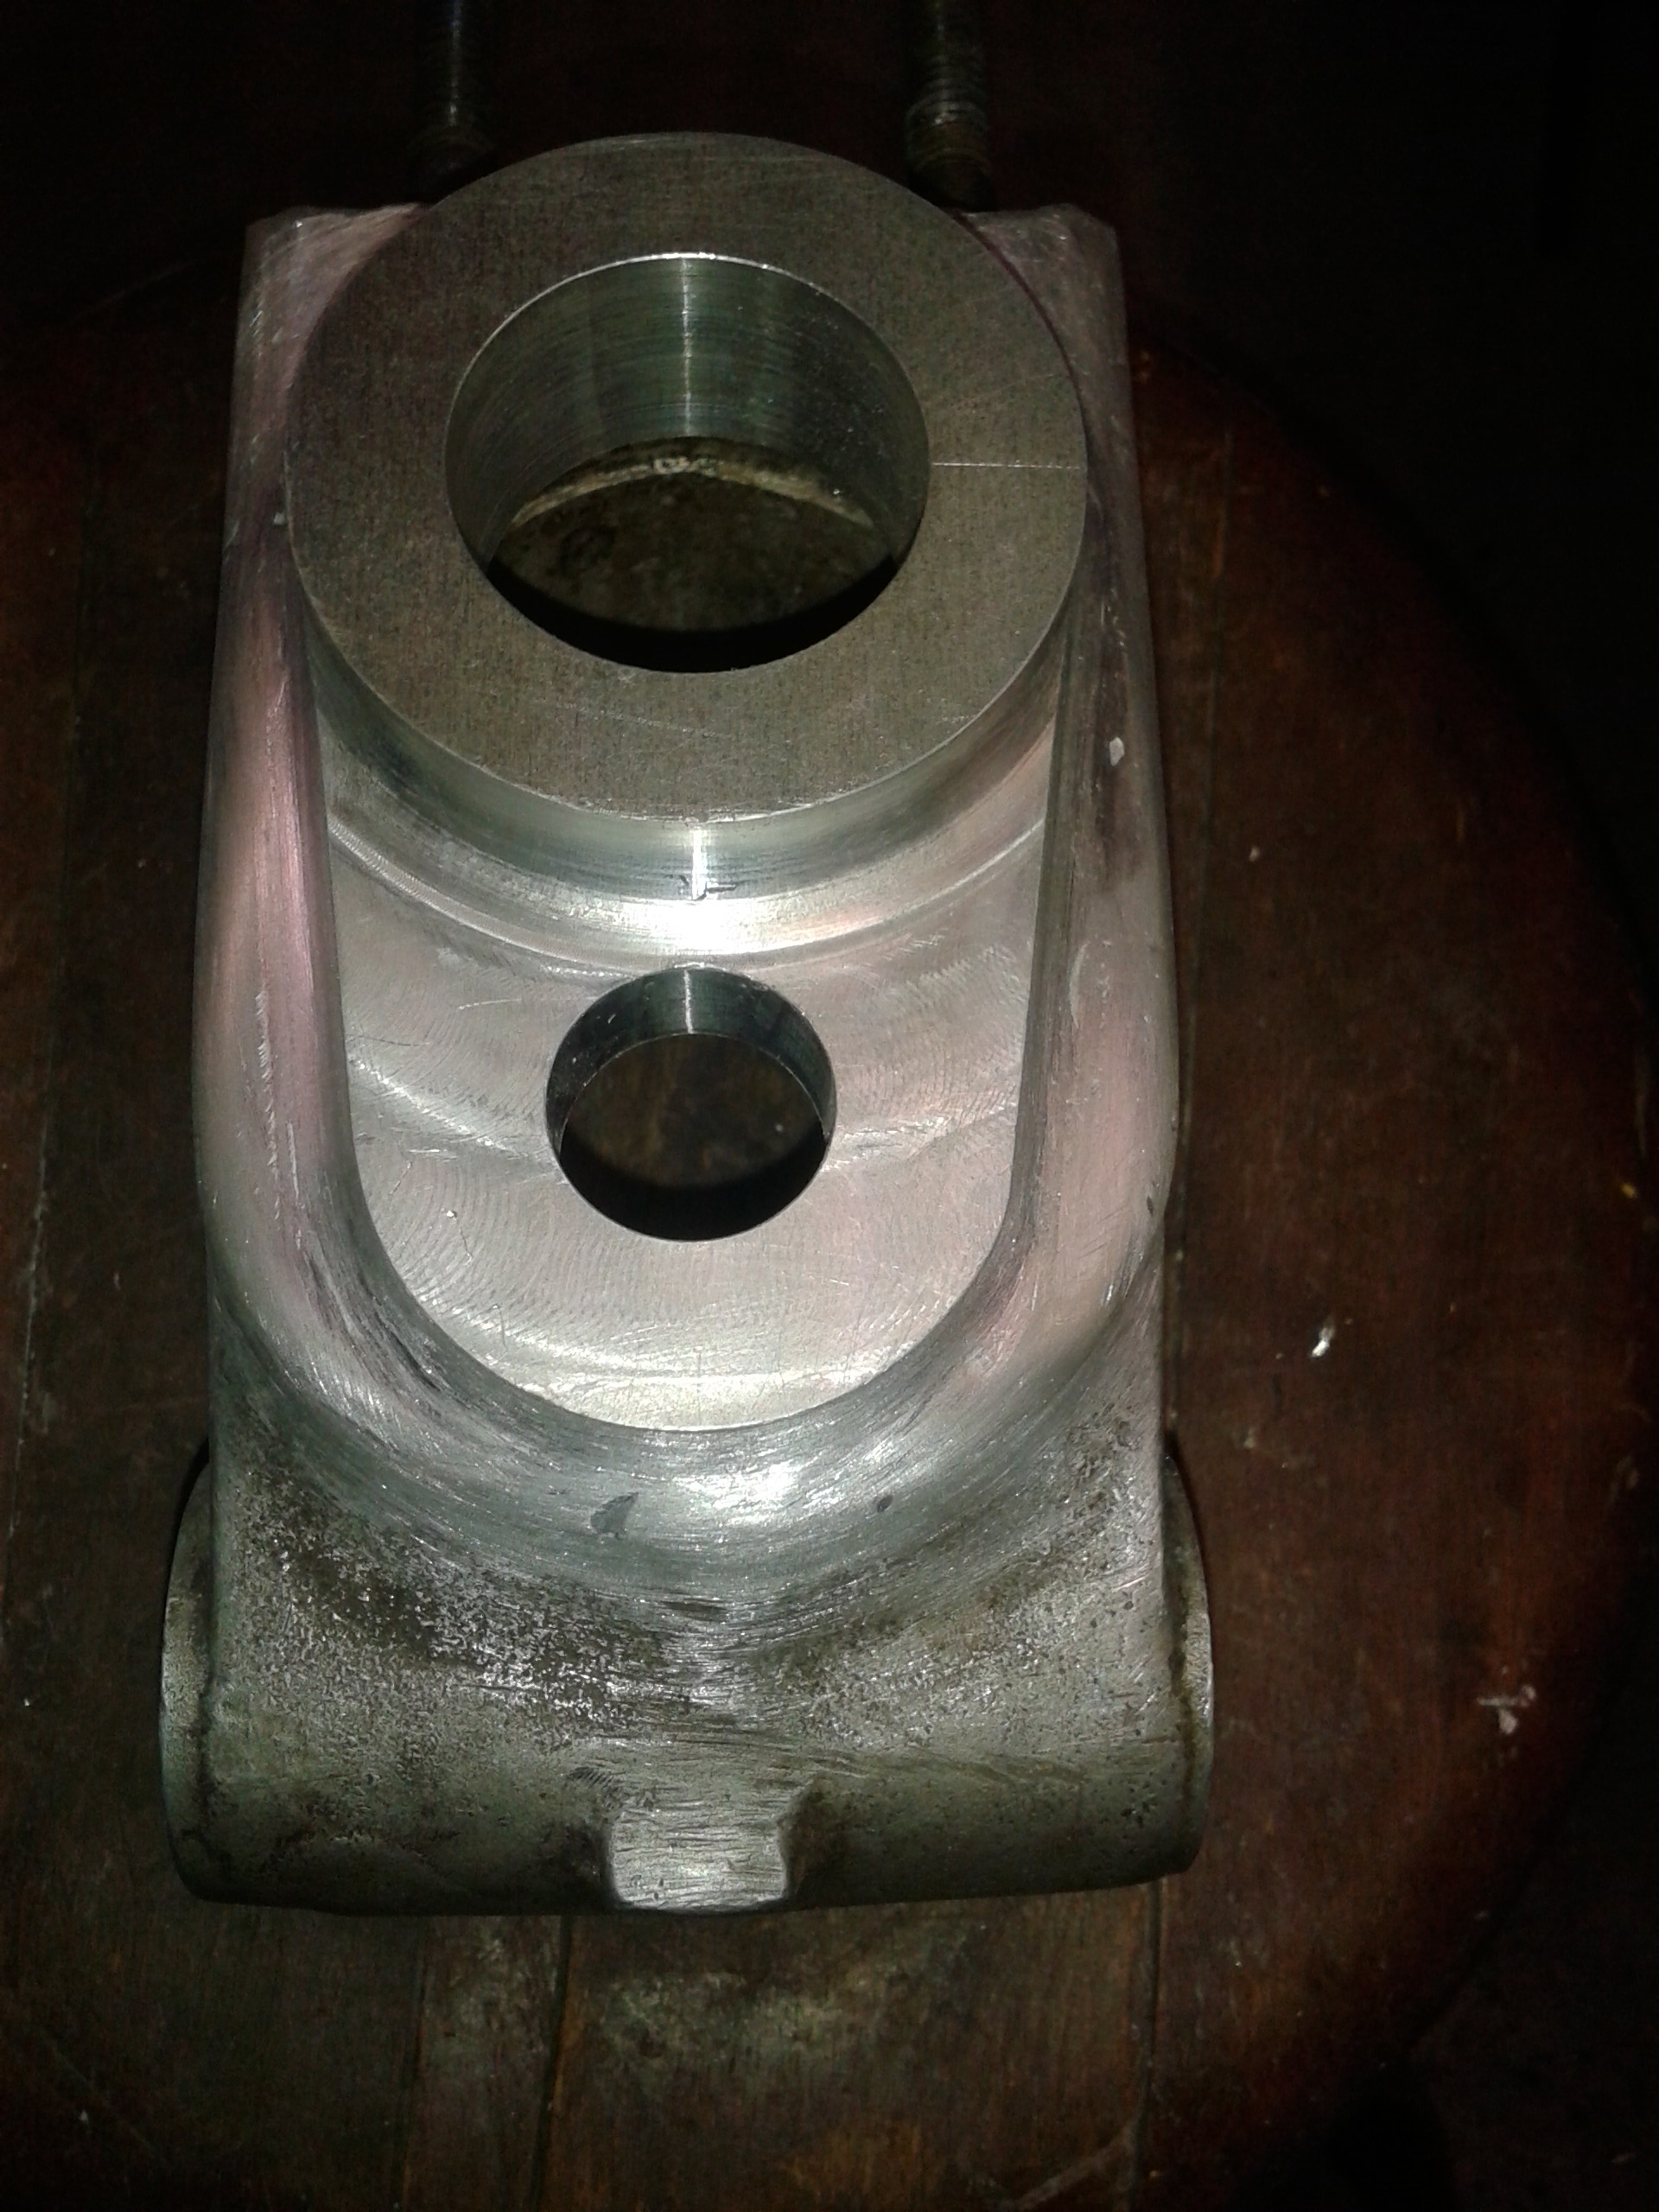
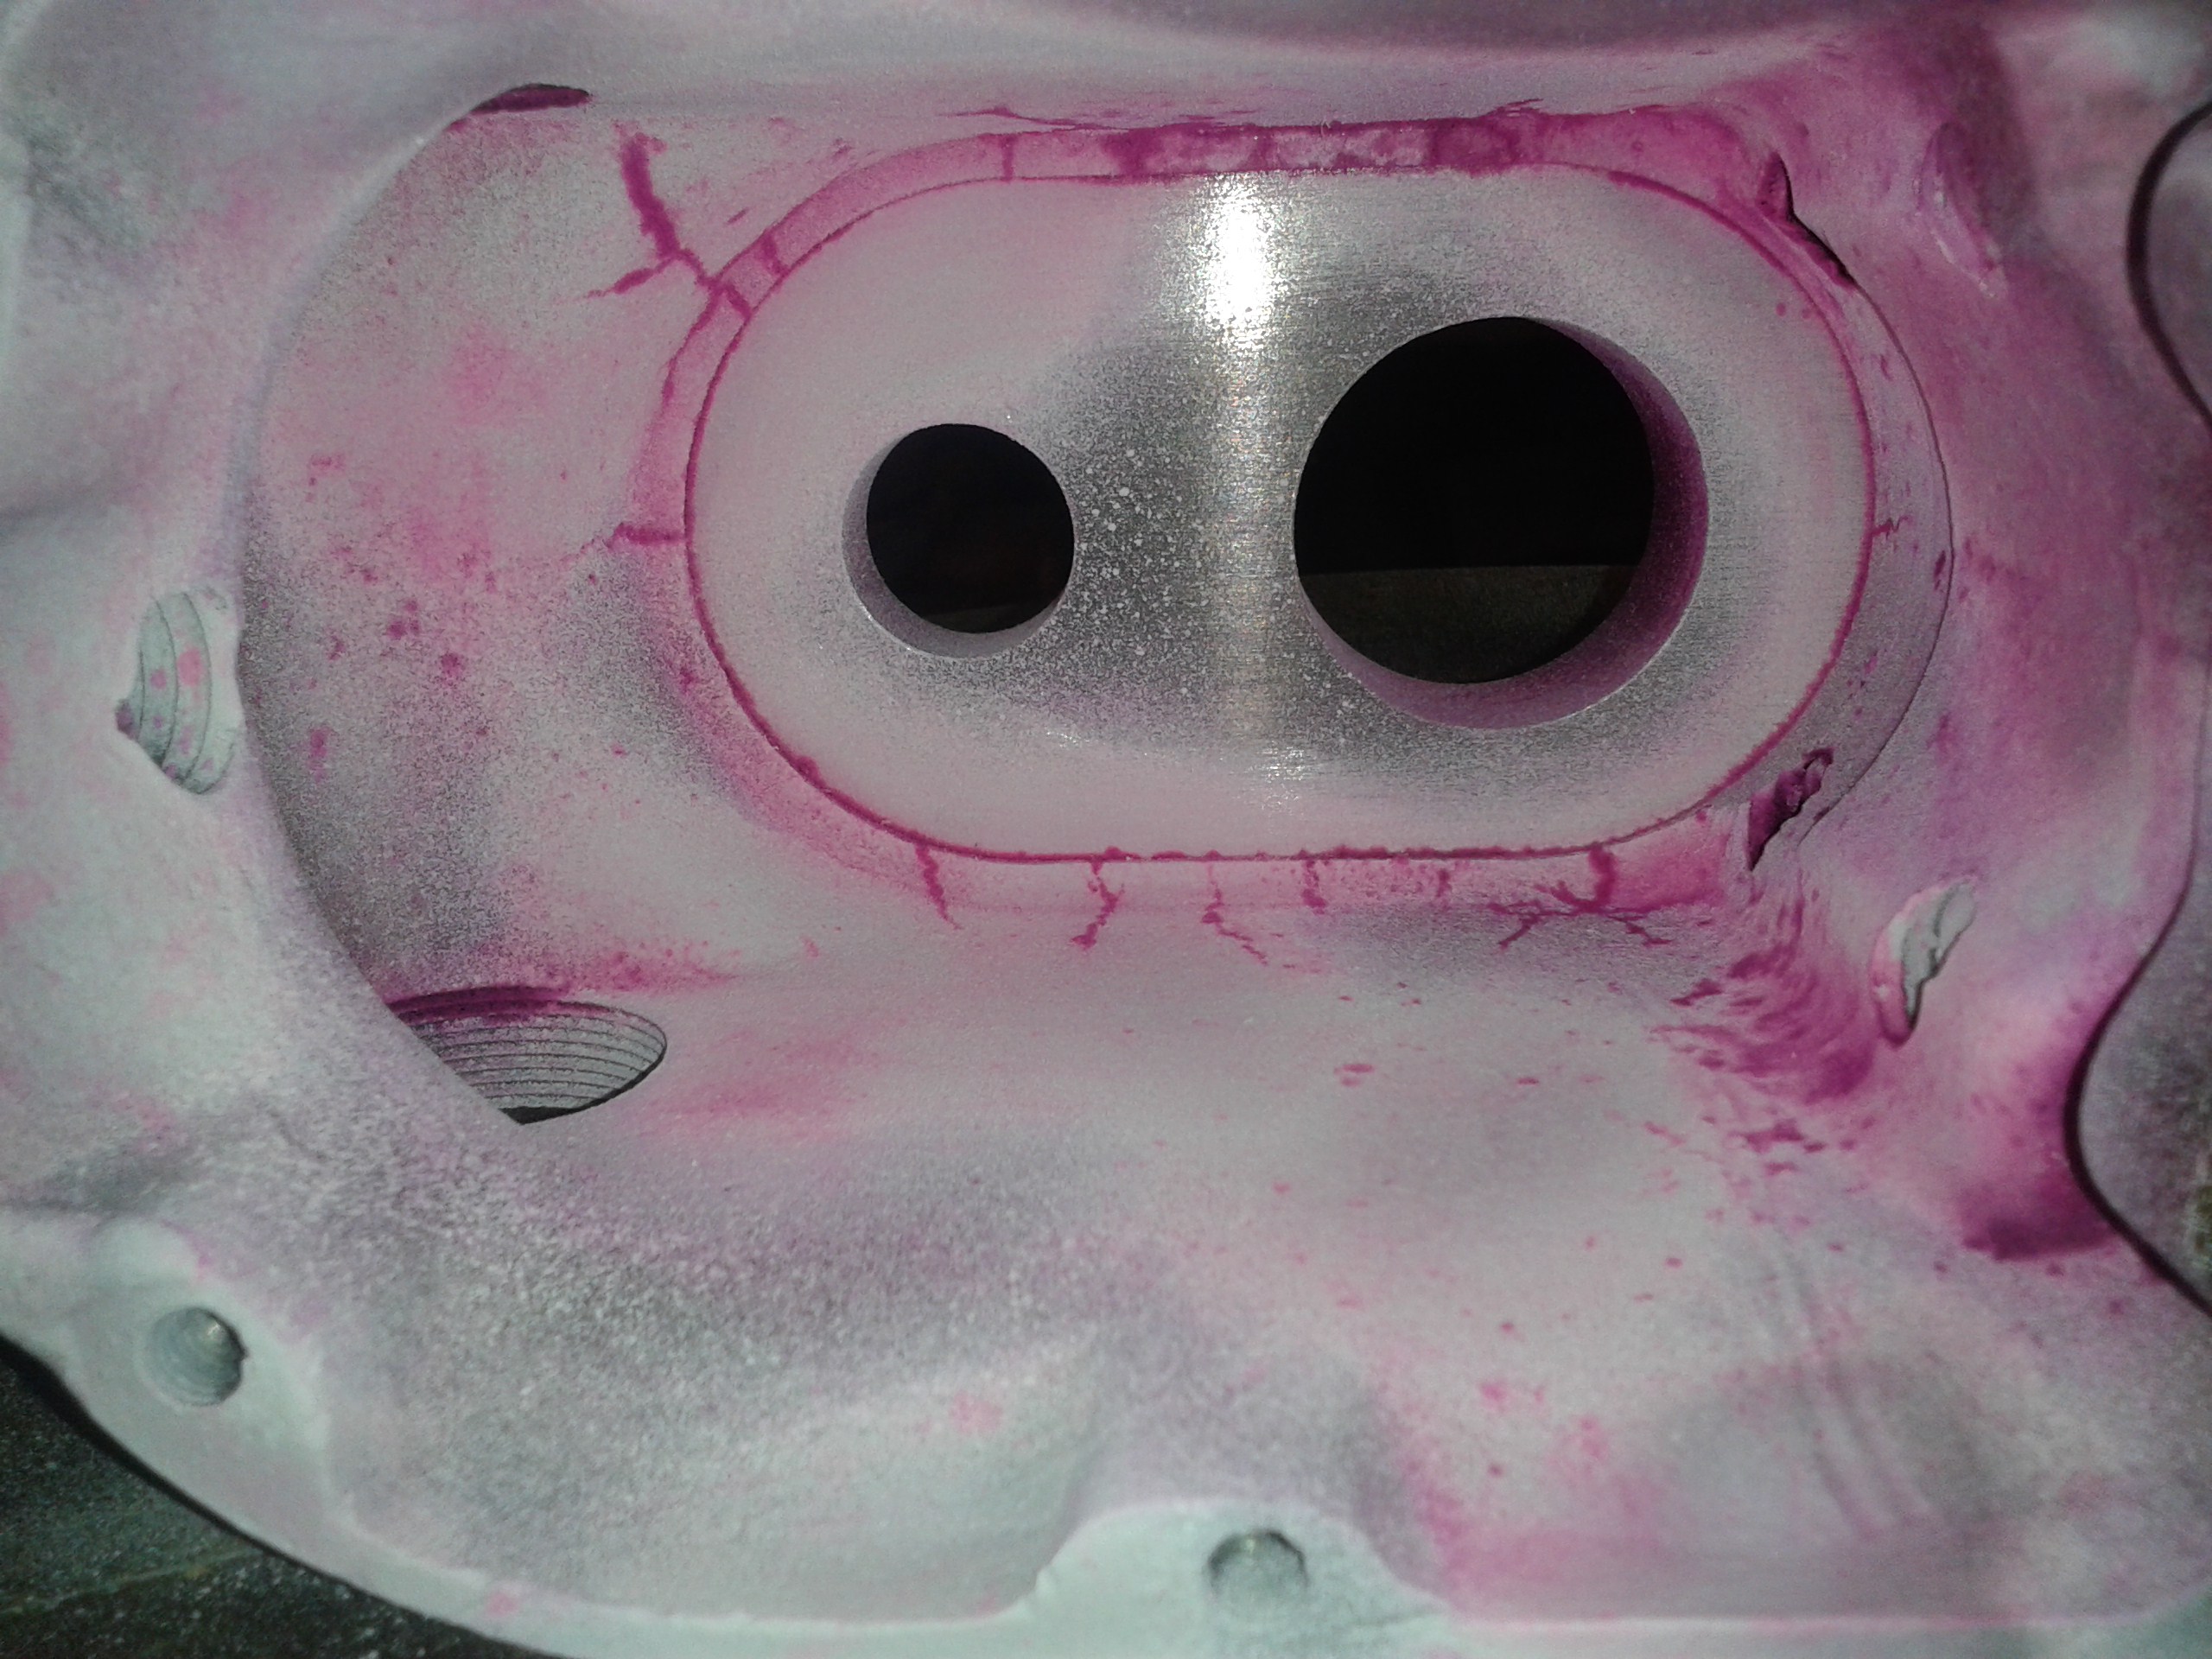
So, some two weeks later things seemed to look good, my wheel builder was kind enough to re-roll the threads on the spokes a little, because I had to shorten them, and I turned my attention back to the gearbox. Only to find that it was badly butchered and had cracks...! There was a big crack in the narrow land between the tow bearings, and a few more around the periphery and the bearing seats, for some reason beyond me, were about 0.5mm oversize in diameter. The bearings had been glued in with lots of high strength Loctite. |
|
|
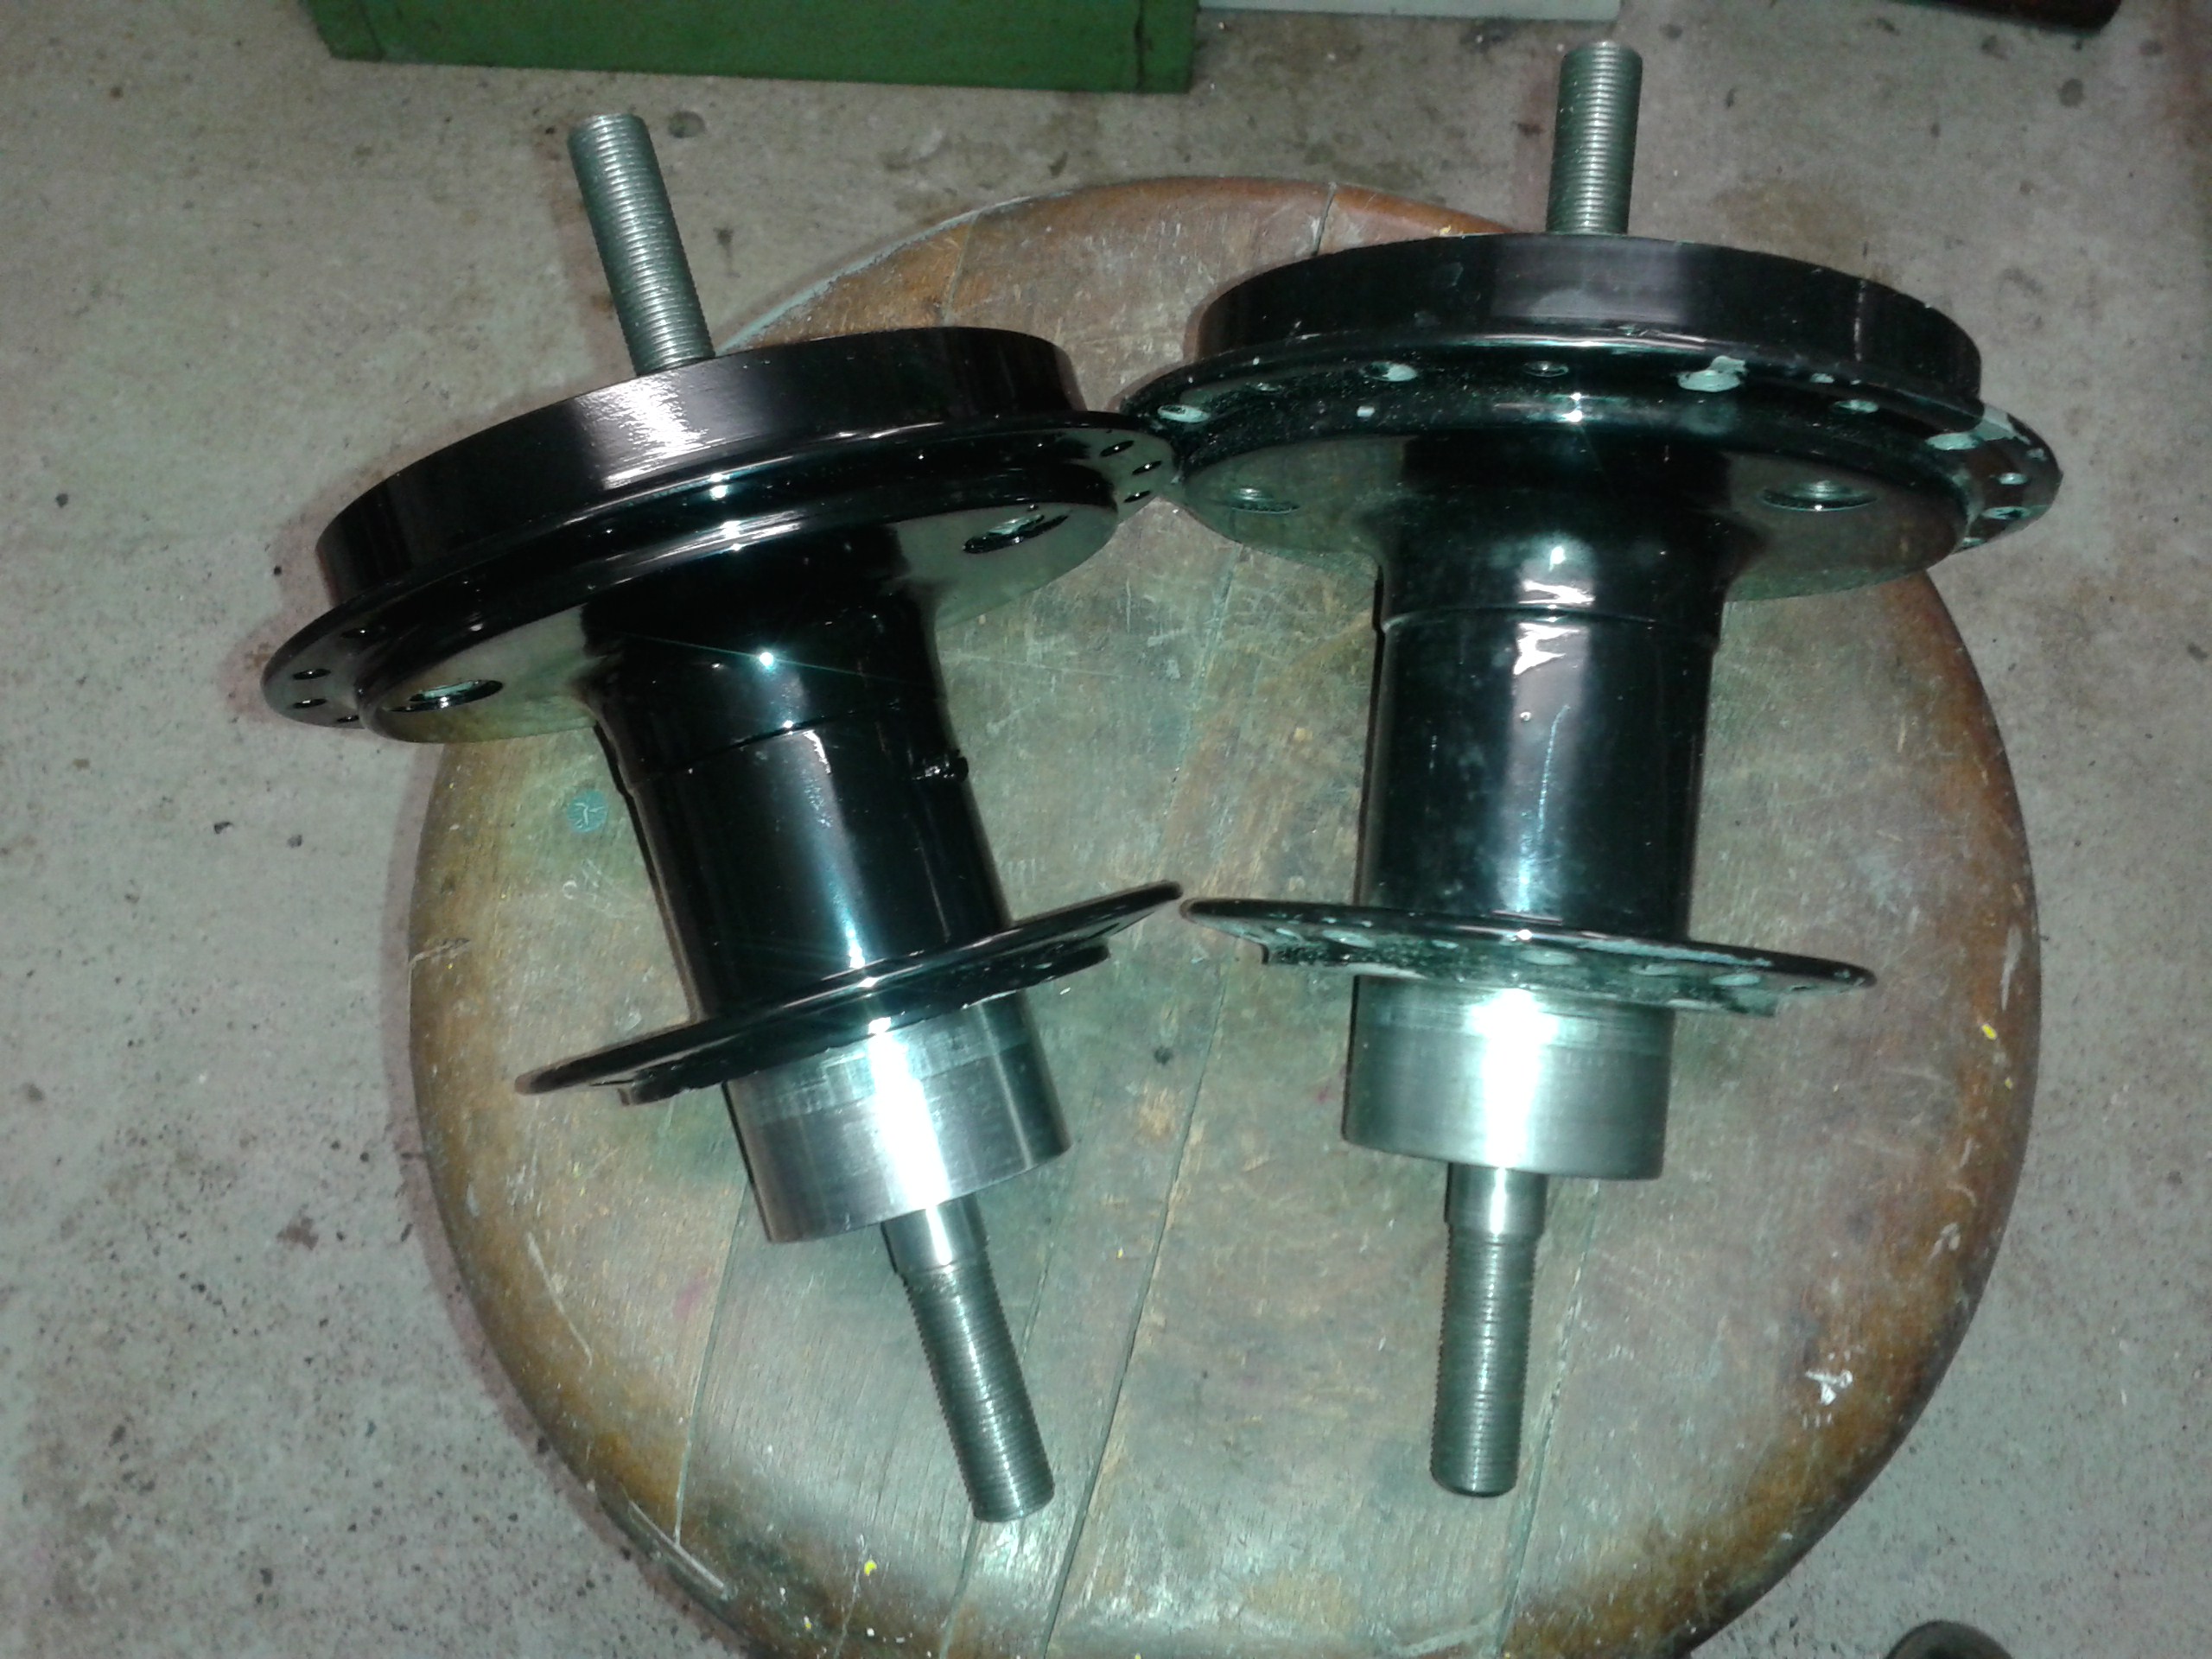
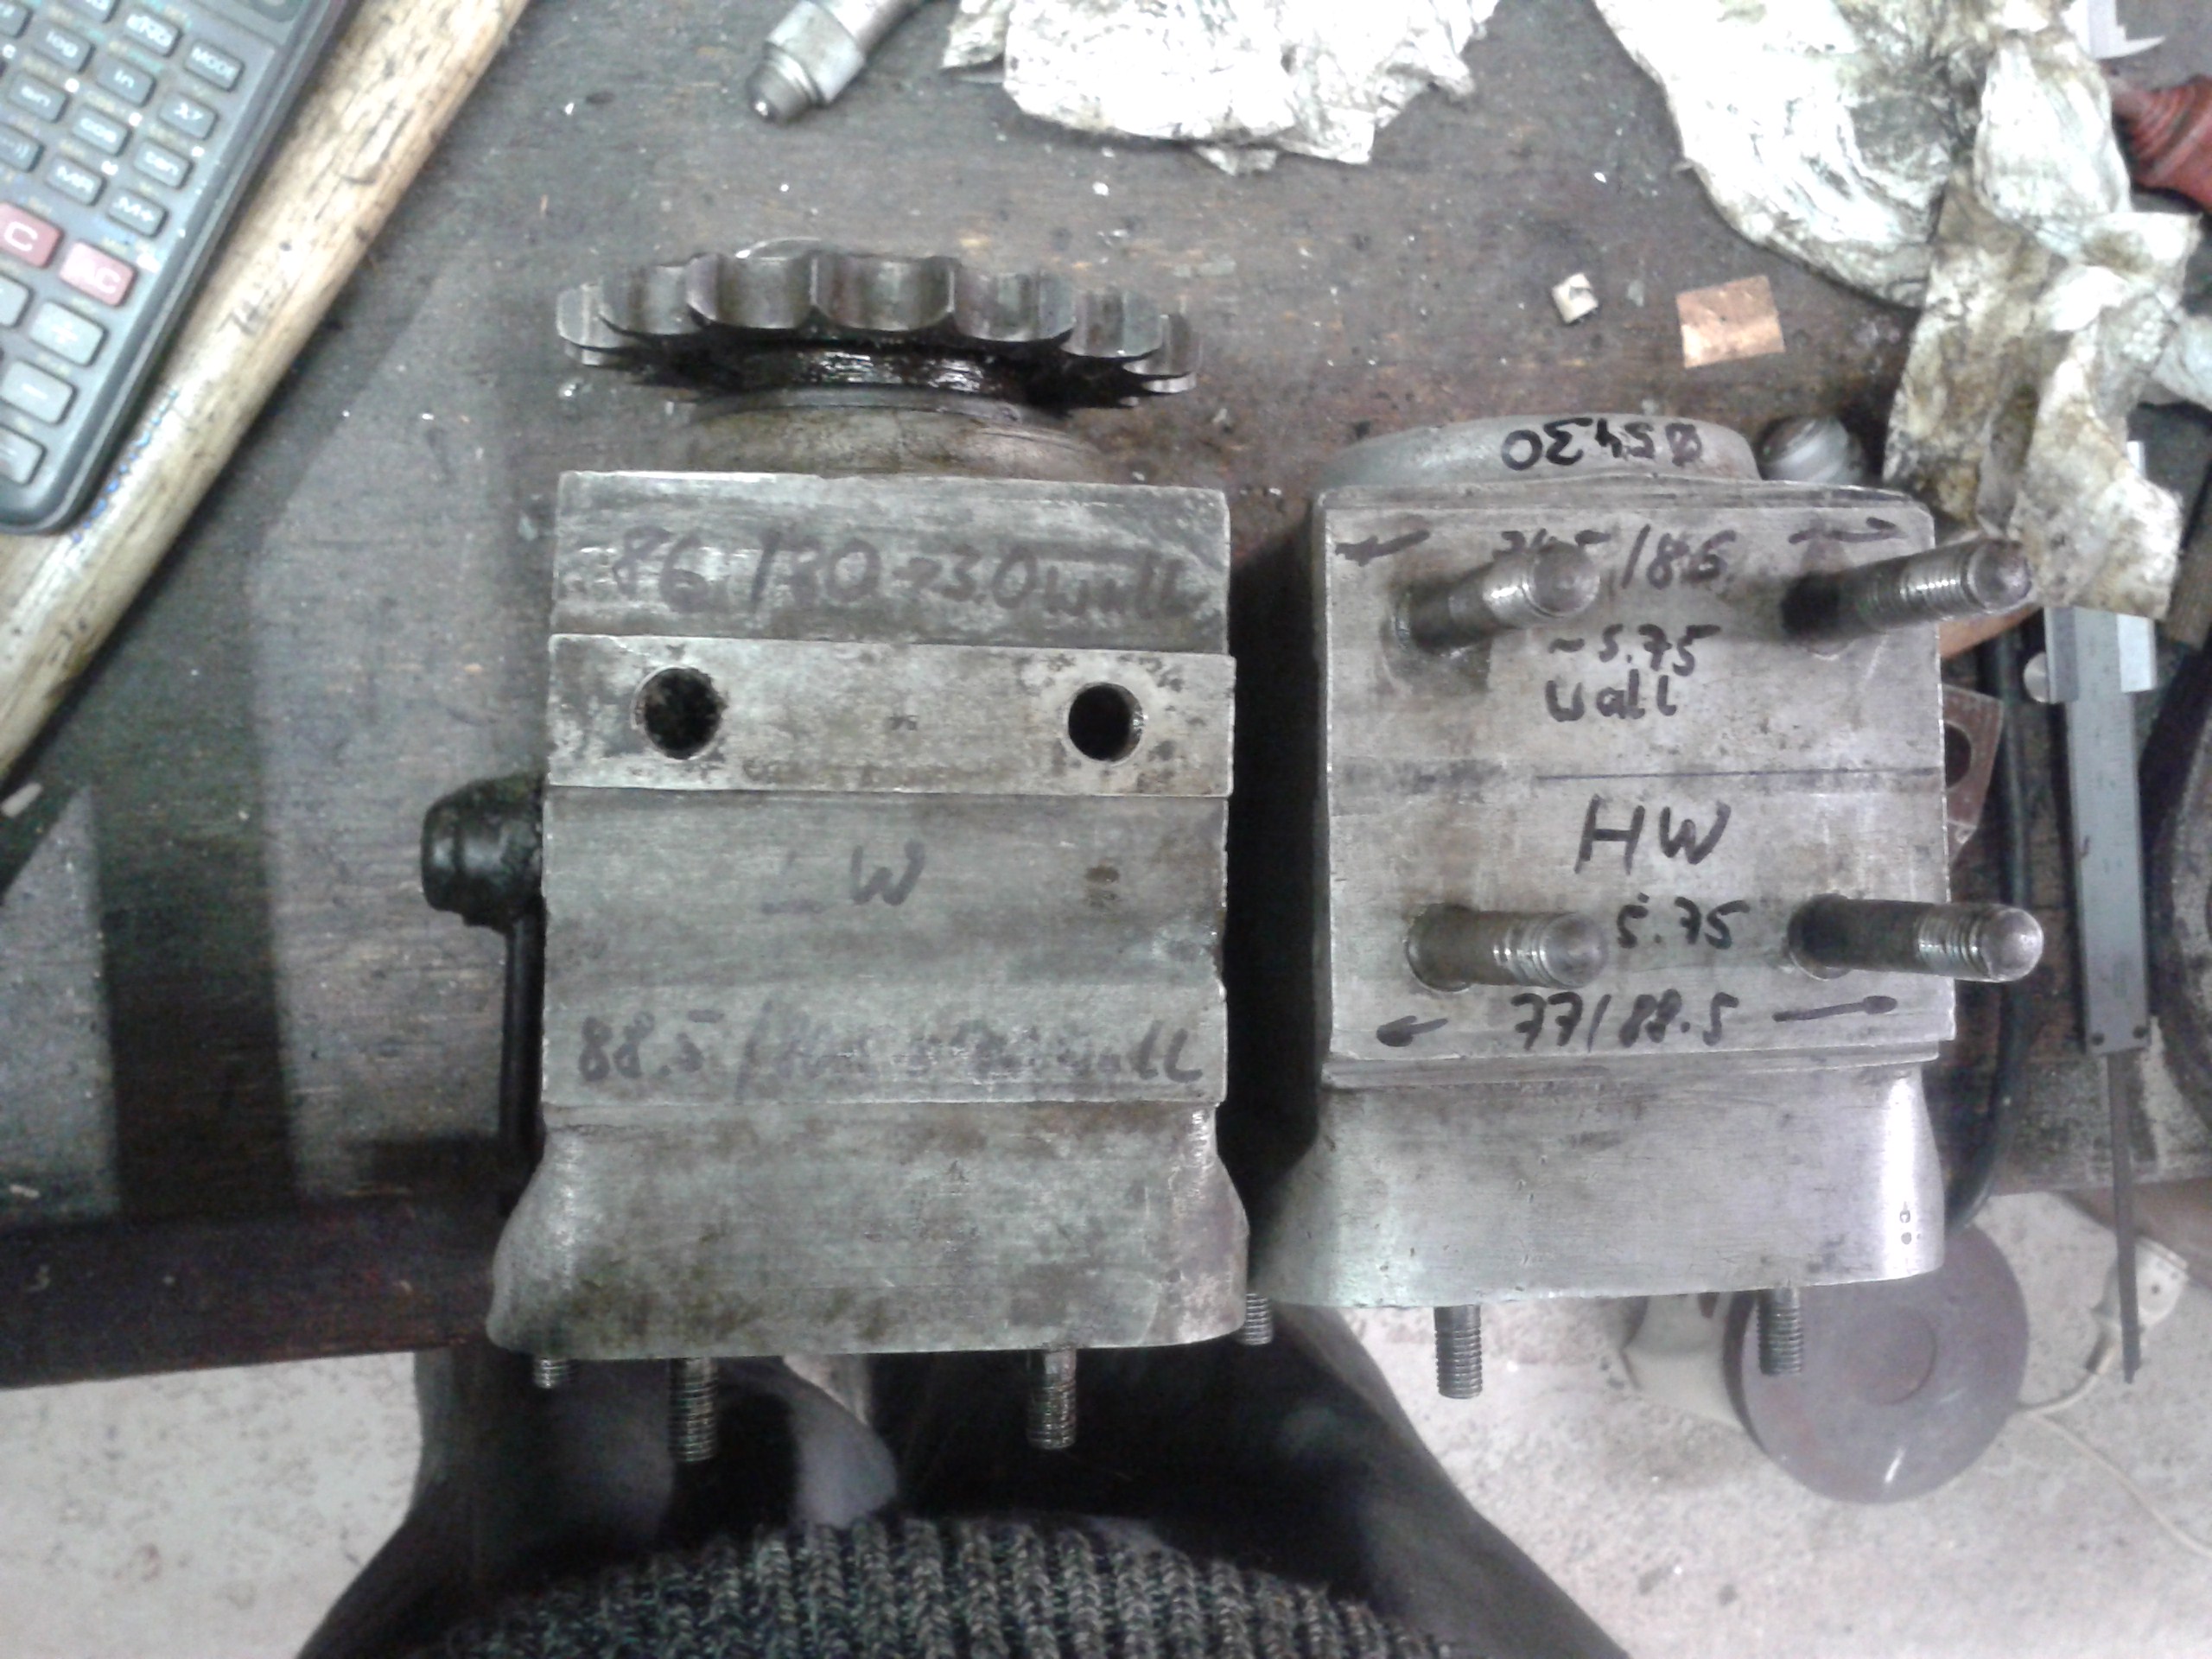
So I toook another dive into my stock and found a nice LW gearbox shell my friend Miles Soppet had once obtained for me. I understand the common consensus is that, apart from the stud pattern and the shape of the deck there is no difference between an LW and a HW gearbox. This is backed up by the fact that none of the Sturmey parts lists make any difference between gears and shafts for LW and HW 'boxes. A quick check told me that there was enough meat on its top to re-machine it to the 4-stud fixing pattern, so things looked good again. However, upon emptying the shell, I suddenly realised that it felt kind of light in the hand. It is not entirely straightforward to measure the thickness of the side walls on these cases - I guess this is why hardly anyone does - but I had to find that the LW boxes all have much thinnner walls than the HW ones. My handwriting is not too clear in the attached pic, but on these shells I measured some 3mm wall for the LW and some 5.8mm on the HW box. I have seen more that one SS100 with the gearbox shell horizontally split right in the middle and I can only suspect these were converted LW shells. |
|
|
So I needed to get back to the butchered, cracked shell. I am not too bad at aluminium welding so I thought, why not give it a try.
However, despite well pre-heating the casting the narrow land between the two bearings would crack next to the weld on cooling. |
|
|
It welded alright on the 3rd attempt, but when I saw how many other cracks still needed welding I decided this was not a solution to give me peace of mind.
The final blow came when I realised that, on this particular gearbox, the bearings were nearly 1mm out of centre - I had hoped to use a gearbox cover that I had, but this was clearly a no go.
|
|
|
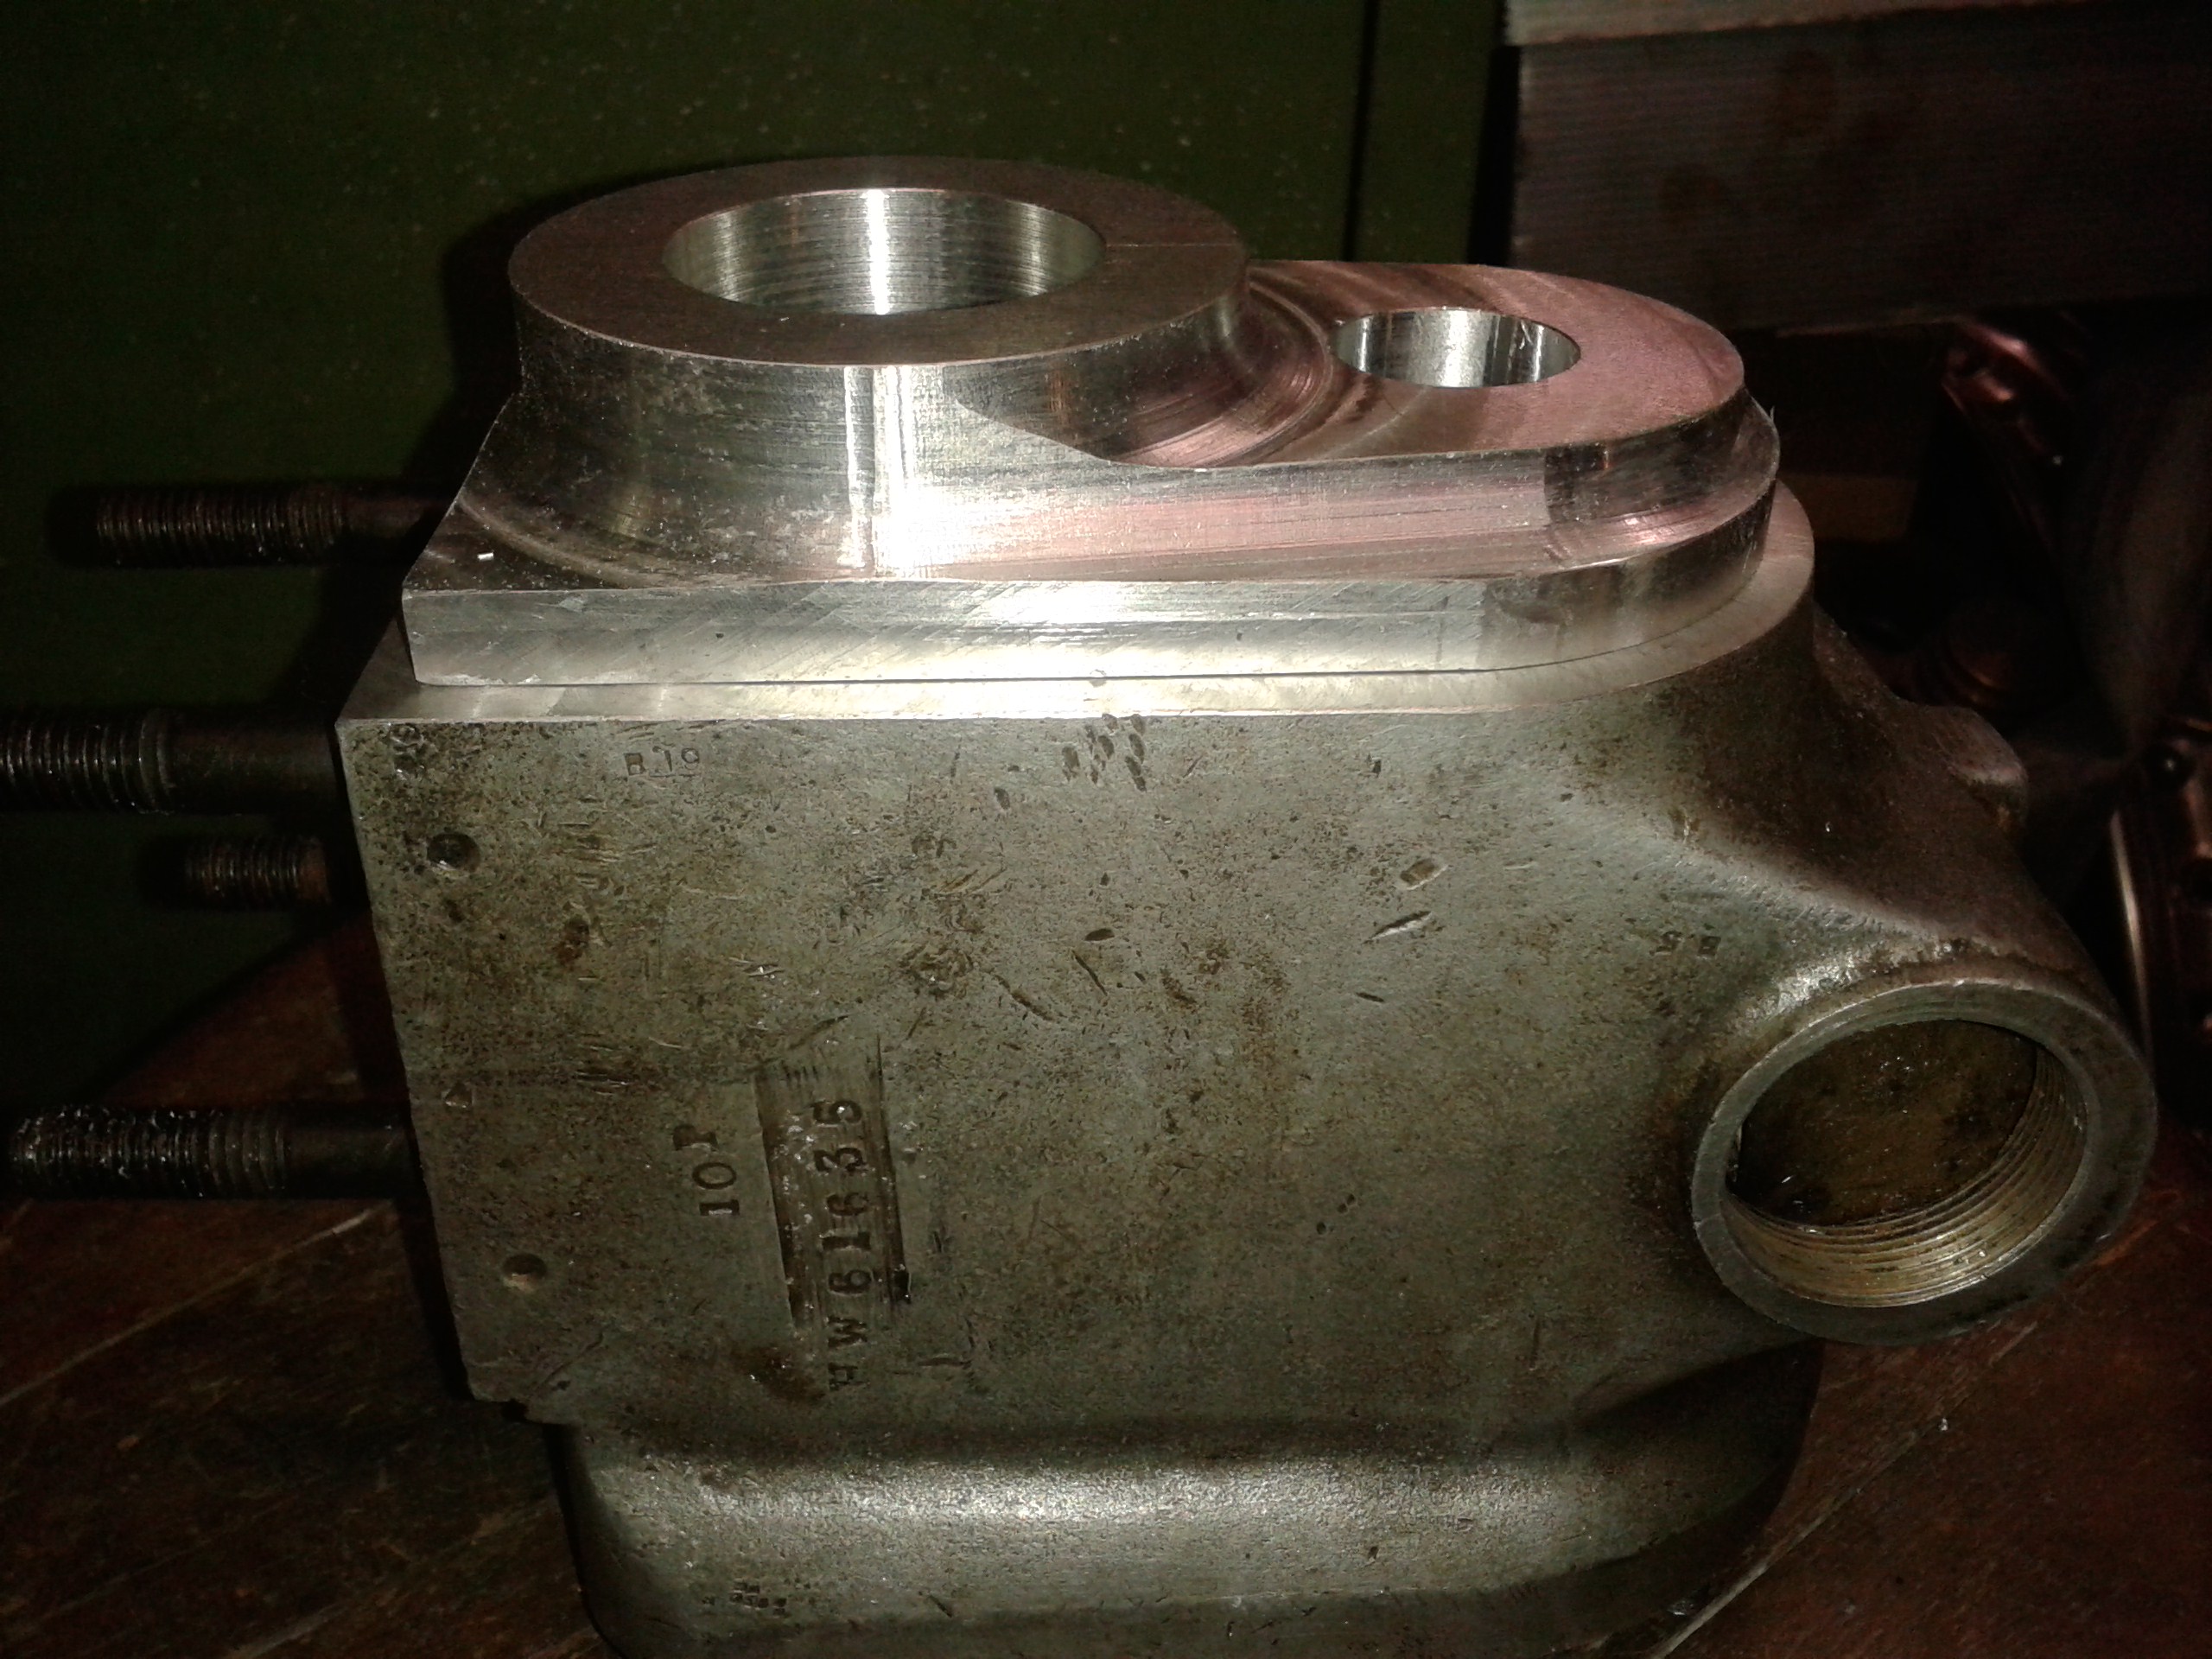
So the next idea was to cut off the end plate, and fabricate a new one from a good high strength aluminium which still has good weldability. I chose the alloy EN-AW 6082, or AA6082 in US resp. H30 in British nomenclature. I machined the whole end off flush with its inner surface, made the implant some 5mm smaller all around and gave it a nice shape. |
|
|
The idea was to join the implant part with a fat fillet weld. This seemed to work out quite well and I was mighty pleased with myself... |
|
|
I cleaned up a few other untidy spots on the shell, including changing a loose fixing stud (Tricky one, that, you need to bore out the small peg locking it!)
|
|
Any kind of feedback to
![]() is
appreciated
is
appreciated
(sorry, this is not a clickable 'mailto:' hyperlink. If you want
to write me, please type my address in your mailer. )