Vintage Workshop
Services for Brough Superior motorcycles and their contemporaries
|
Vintage Workshop Services for Brough Superior motorcycles and their contemporaries |
Sturmey Archer gearbox covers last update: 7/2003
|
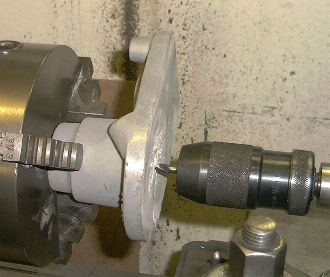
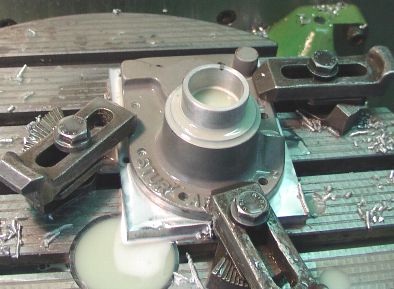
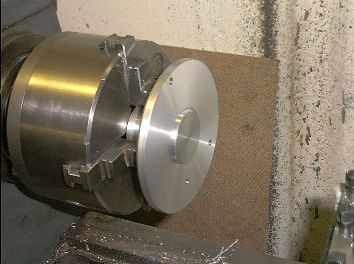
When machining a casting, the first problem is invariably the same: How to hold the raw casting (which usually has no parallel surfaces or cylindrical parts) in a safe way. And the second problem is to make sure that you plan the position of the finished correctly so everything will be within the casting when you machine the other sides. With this one, I took a very primitive approach: I just chucked it hard on the boss despite the taper shape of it and set a centre. |
|
| Thus I could machine the inner surface without too much trouble. |
|
| Then I made a bore which I enlarged to about 30 mm... |
|
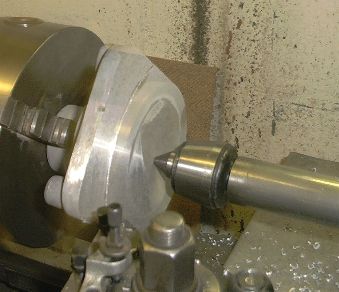
| ... so I could chuck it on the other end, this time already a bit safer.
Now I machined a step to hold the work properly. |
|
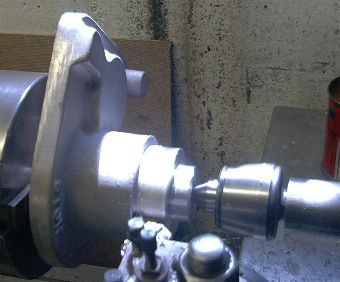
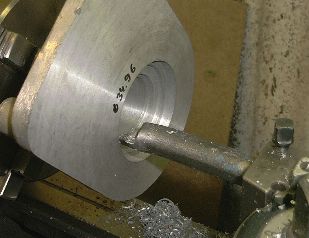
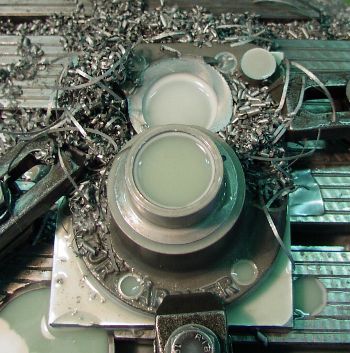
| Only now I felt the piece was held well enough to do the final cut on the jointing surface... |
|
| ... and the main shaft (or kickstart shaft) bore with all of its
recesses.
How true the chuck may ever run, I always try to machine all the surfaces that need to be true to each other without re-chucking the work; in this case bore, recesses and mating surface. |
|
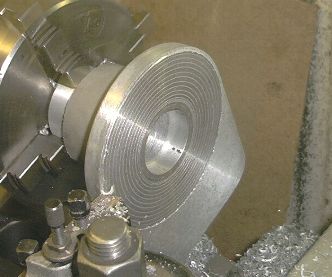
| Only now, I could finish the other end (the wall would have been a bit thin to hold the work if I had completely machined it before) |
|
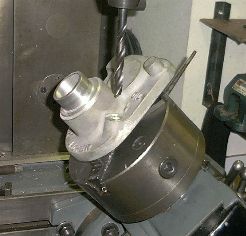
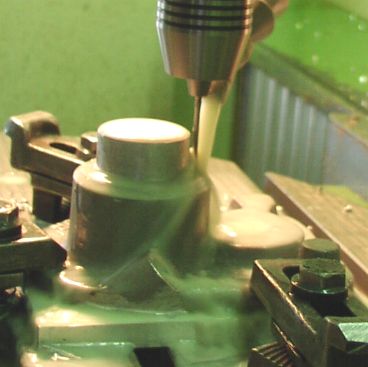
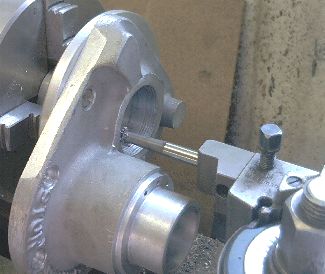
| Now, it is milling time. We need that awkwardly situated bore and thread
for the oil fill plug.
Rig it up at the correct angle in both planes, machine a flat, centre drill, bore, bore out... |
|
| ... countersink and cut the thread. |
|
| Next, I did the recesses for the kickstart stops. And I drilled a hole where the lay shaft bearing will be. |
|
| Now this is how far we got. Can you guess how many hours there are already in these covers? | 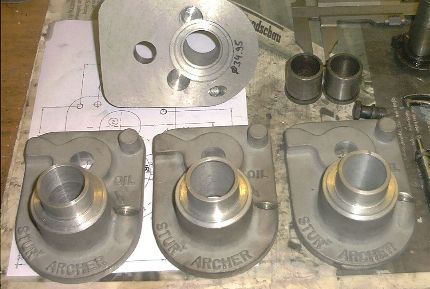 |
| Well, this is why I decided to go ahead and make myself guilty of some
cheating. My friend Thomas came to help and we wrote a CNC program for most
of the remaining operations. This took a few hours, too, but it made sure
that the axis c-c distance and the drilling pattern for the studs were very
accurate on ALL of the covers.
This is after drilling the stud holes... |
|
| .. and this one while making the small bore holes for the kickstart return spring. |
|
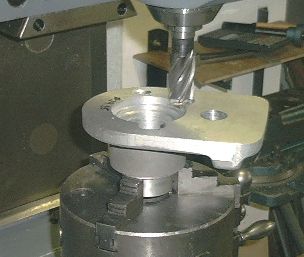
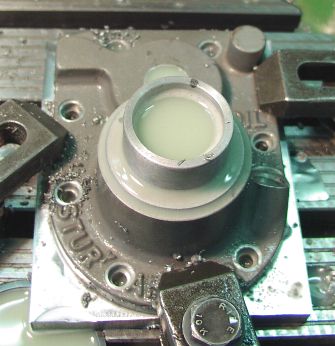
| Here we have already done the countersinks on the stud holes and those funny little Sturmey-Archer specific flats for the hex heads. |
|
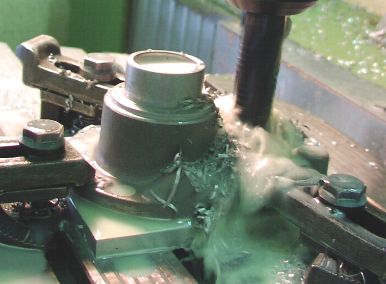
| Here, the CNC mill is doing the bearing bore and the flat above it.
Yes, you have to be quite sure about your programming; once you have pressed the start button you can neither see too well what is happening nor do much about it! |
|
| Now, it only wants finishing the bearing fit, but it seems I forgot to take a picture of this. |
|
| So far, so good. Now all it wants doing is cutting the thread for the clutch actuating mechanism. |
|
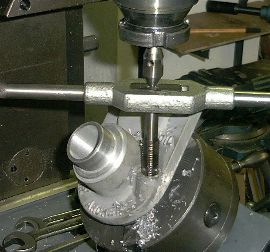
| I guess you will agree that a 1 5/8" x 16 tpi tap is slightly exotic and
most likely very expensive. So cutting the thread was a case for the lathe
(love it or loathe it - but lathe it...) So, the first thing was making a jig to... |
|
| ...hold the work in a well aligned manner. |
|
| Then, cutting the thread was a quite normal job, except for the fact that you need to cut just about 6 turns and try to retreat the tool on the same quarter turn with every cut you do... |
|
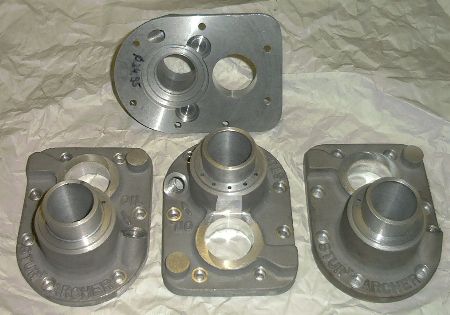
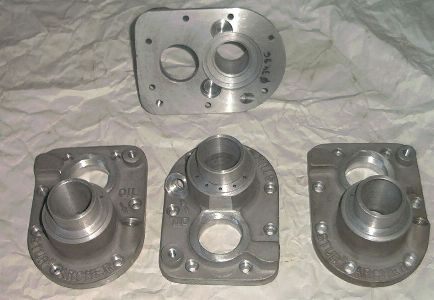
| Now, this is the outcome of it all. Phew, I think I would only do it again if somebody paid me for a batch of 10.... Anyway, if you need one of these, please let me know. |
 |
Any kind of feedback to
![]() is
appreciated
is
appreciated
(sorry, this is not a clickable 'mailto:' hyperlink. If you want
to write me, please type my address in your mailer. )